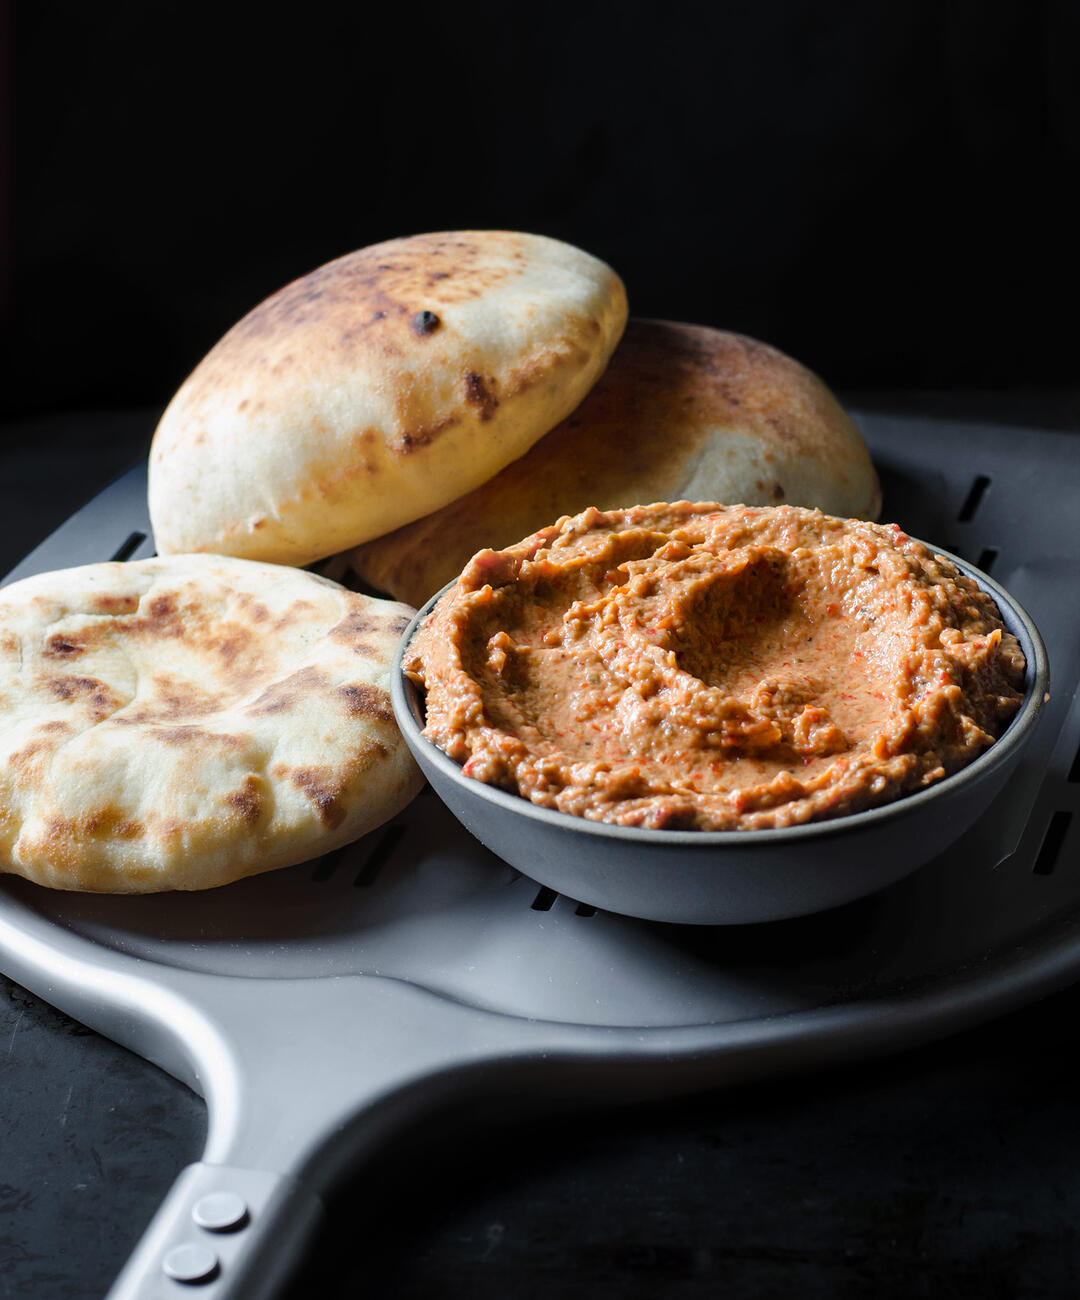
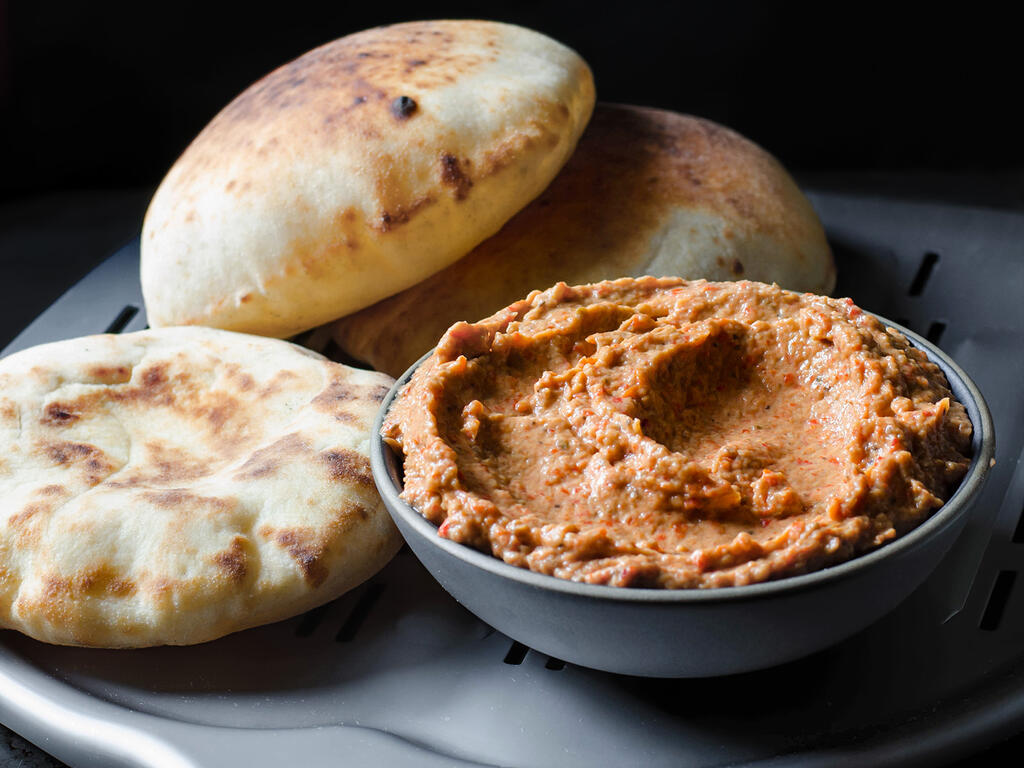
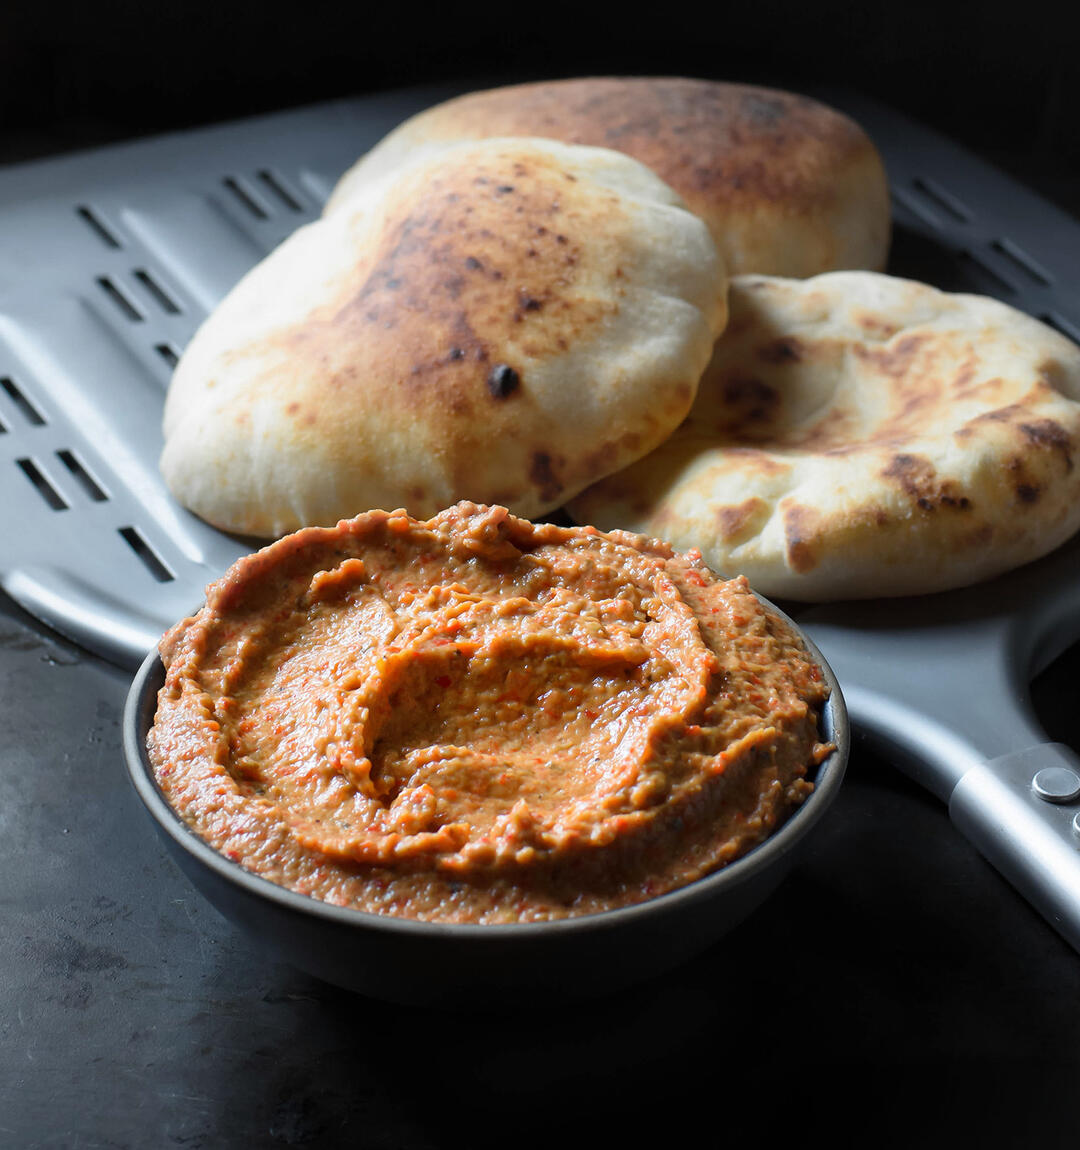
Roasted Eggplant and Red Pepper Dip
Salt and/or acid are often that "missing something" when a dish isn't quite right. This is the case for both savory and sweet recipes, pie dough being a sweet example that suffers without enough salt.
Since picking up Salt, Fat, Acid, Heat, I've become even more mindful of a dish's balance. This Roasted Eggplant and Red Pepper Dip is a recipe that I published quite a while back and happened to make recently. The flavor was good but flat and it didn't take long for me to notice a glaring hole in the ingredient list - acid. There are only four main ingredients so that's quite a miss on my part.
I added 2 1/2 teaspoons of pomegranate vinegar and just that small change took the dip from good to excellent. It's a rich and balanced summertime side that's great to scoop up or add to a wrap.
Salt, Fat, Acid, Heat are words to cook by.
Recipe Tips
Cooking Method
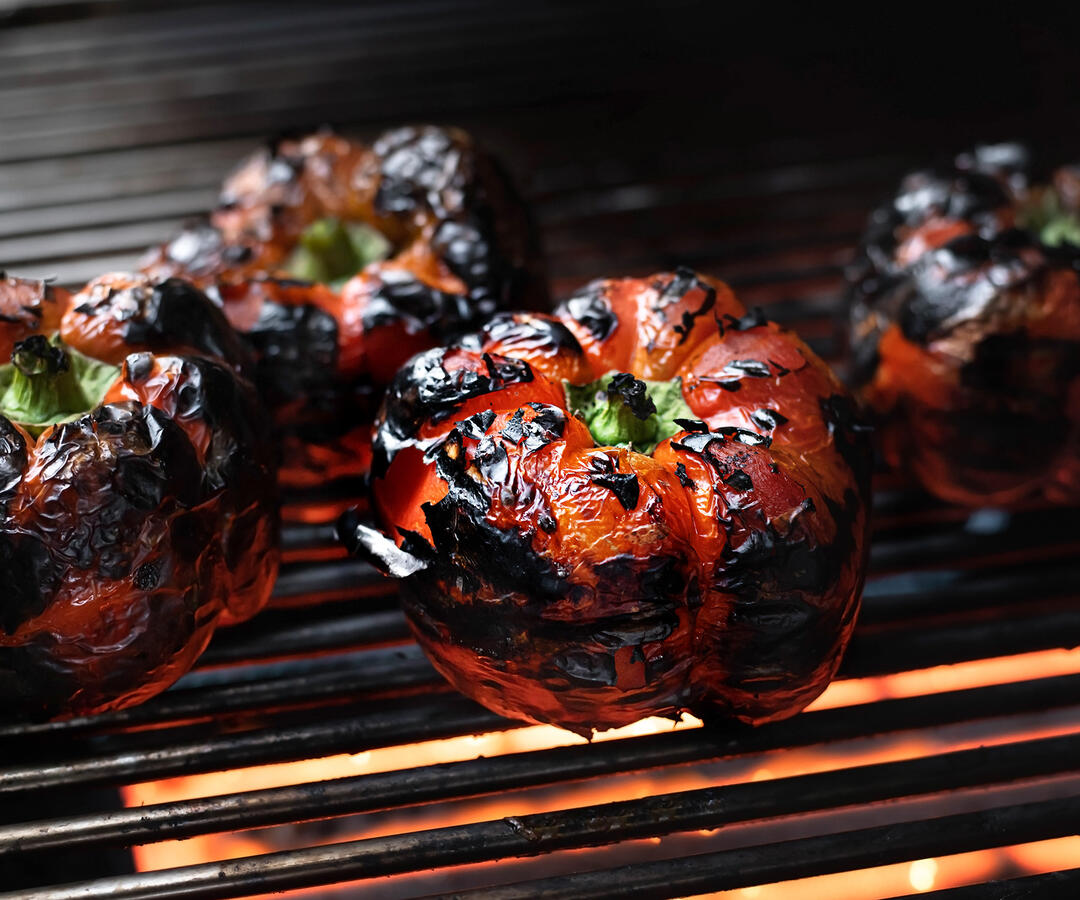
I like to char my peppers on the grill for an added smoky flavor but you can use the oven broiler for equally delicious results. Broiler instructions included below.
Spice
This dip enjoys an added dimension of heat so I highly recommend the optional Fresno chile. Speaking of heat, always taste your peppers before and after roasting. I've purchased peppers that had an unpleasant bite and would have ruined my dish had they been included. This is especially true if you’re buying from the farmers market where spice varies quite a bit.
Texture
This dip is quite thick which I prefer. If you want a looser texure, just shorten the roasting time for the eggplant.
Farmers | Artisans
I make an effort to source my food from California artisans with a special focus on the Santa Monica Farmers Market. Below is a list of the folks who contributed to this dish.
- Kong Thao / Eggplant, Peppers
- Flora Bella Farm / Eggplant, Peppers
- The Garden Of... / Garlic
- Beylik Family Farms / Peppers
- Tratorre Farms / Olive Oil, Pomegranate Vinegar
Tools
- Cuisinart Food Processor - This food processor has been getting the job done for over 10 years. Works well, easy to clean, and the bowl and blade have made numerous runs through the dishwasher without issue.
- Chicago Metallic Baking Sheet - I have been using the same two baking sheets for many moons now. Cookies and roasted vegetables all come out perfectly.
Ingredients
Dip
- 1 3/4 pounds pounds eggplant, peeled and cut into 1 1/2-inch pieces (you should have about 21-24 ounces after prepping) Note: I use white eggplant or Japanese Kamo eggplant when available.
- 1 pound sweet red peppers such as bell, pimento, or Jimmy Nardello Note: The latter should only be used as a portion since the skin and flesh are thin and harder to clean up after roasting.
- 1 small/medium head of garlic, about 1/3-inch sliced off of the end (not the root end) so the cloves are exposed
- 4-5 tablespoons extra virgin olive oil
- 2 1/2 teaspoons pomegranate vinegar, plus more to taste Note: Red wine vinegar can be substituted. Cut the quantity back a little at first and then adjust to taste.
- 1 teaspoon Diamond kosher salt, plus more for roasting and adjustments
- Freshly ground black pepper
- Optional (but highly recommended): 1 Fresno chile Note: If you don't have a spicy pepper, try adding a bit of crushed Aleppo or red pepper flakes.
Serving
- Homemade Sourdough Naan or Pita
- Optional: Dried oregano
Instructions
- Move an oven rack to the middle position and heat to 350°F.
- Line a baking sheet with aluminum foil and then lay a piece of parchment paper on top.
- Toss the cubed eggplant thoroughly with 2 1/2 tablespoons of olive oil, a couple pinches of kosher salt, and freshly ground pepper.
- Spread eggplant in an even layer on the lined baking sheet.
- Rub the garlic with olive oil and seal in aluminum foil packet.
- Place the eggplant and garlic in the oven and roast for 1 to 1 1/2 hours or until your eggplant is starting to shrink and caramelize. Stir the eggplant every 20-30 minutes for even browning. You should end up with 12-14 ounces of eggplant after roasting. Note: Garlic is pretty forgiving so I usually leave it in until the eggplant is finished. Also, if you want the dip to have a looser texture, just shorten the roasting time.
- Set the vegetables aside to cool and then gently remove the garlic cloves from the head.
If you are charring the peppers on a grill, pierce with peppers with a knife and and then blacken the skin thoroughly as seen in the photo. You can skip the next three steps and pick up again where you sweat the peppers.
- After the eggplant and garlic are finished, remove the parchment from the baking sheet but leave the foil.
- Move the oven rack to the highest position (leaving enough room to slide the baking sheet and peppers in), and turn the broiler on high.
- Pierce the smaller peppers (such as the optional Fresno) with a knife and slice the larger red peppers in half from stem to bottom. Place the peppers on the foil in a single layer, cut side down where applicable, and place under the broiler.
- Once the skin is blackened and blistered, carefully turn the uncut peppers so that all sides can be charred. The cut peppers should not have to be turned. Note: Gloves are recommended when handling Fresno peppers.
- Carefully bundle the foil up around the peppers and place in a Ziploc bag. You can also slide the peppers into a glass bowl and cover the top with plastic wrap. Sweat the peppers for at least 15 minutes.
- Remove and discard the stems, ribs, seeds, and charred skin so that only the flesh remains. You should end up with about 10 ounces after roasting/grilling.
- Add the eggplant, garlic, peppers, vinegar, 1 teaspoon salt, and several cranks of freshly ground pepper to a food processor. Note: The peppers will be a little damp and that's fine, don't dry them. The added bit of moisture is good for the texture.
- Process until combined but still a little chunky, stop, then scrape down the sides of the bowl.
- With the processor running, add 2 tablespoons of olive oil through the feed tube.
- Taste and adjust the vinegar, salt, and pepper as needed.
- The dip can be served immediately but I highly recommend refrigerating it for at least a couple hours, overnight is preferable. The flavor transforms with time.
Serving
- Homemade Sourdough Naan or Pita can be warmed and is delicious as-is for scooping.
Optional Toasting
- Move an oven rack to the middle position and heat to 425°F.
- Cut your pita bread into triangles. Note: With cooking shears, cut the pita around the edge then separate the top and bottom before cutting each into triangles.
- Line a baking sheet with foil.
- Lay the pita triangles in a single layer, brush with olive oil, sprinkle with kosher salt, then bake until lightly toasted.
- Remove from the oven and immediately sprinkle with optional pinch of oregano.
Storage
- The dip can be refrigerated in an airtight container for a few days. It never lasts longer than that in our house.
- Currently testing to see how the texture and flavor hold up after being frozen.
Packing for the Airstream
This dip is travel friendly if you're tent camping or out in an RV and great to have on hand for the first couple of nights. Store it in a deli cup and toss that in the cooler. Our Yeti keeps food around 32°F even on very warm days so I can leave it in there for a couple of days depending on the schedule. Serve with grilled meat or just scoop it up with some pita or rosemary crackers (the latter seem to be available at a number of stores).
Newsletter
Subscribe at the bottom of this page for the Chic Eats roundup. It includes new and updated recipes along with a grab bag of content that was interesting enough to share around the dinner table.