Homemade Roasted Chicken Stock
RECIPE UPDATED 12/20/2022
Ever since posting my Roasted Vegetable Stock, I've been meaning to follow it up with a chicken stock recipe. The ingredients are similar but chicken broth requires a few more considerations because of the fat and bones.
I had several questions before making my first batch of chicken stock. Should I leave the skin on the chicken? Does celery really make the stock bitter? Does good stock have to be gelatinous? Much of what I learned is included in this post.
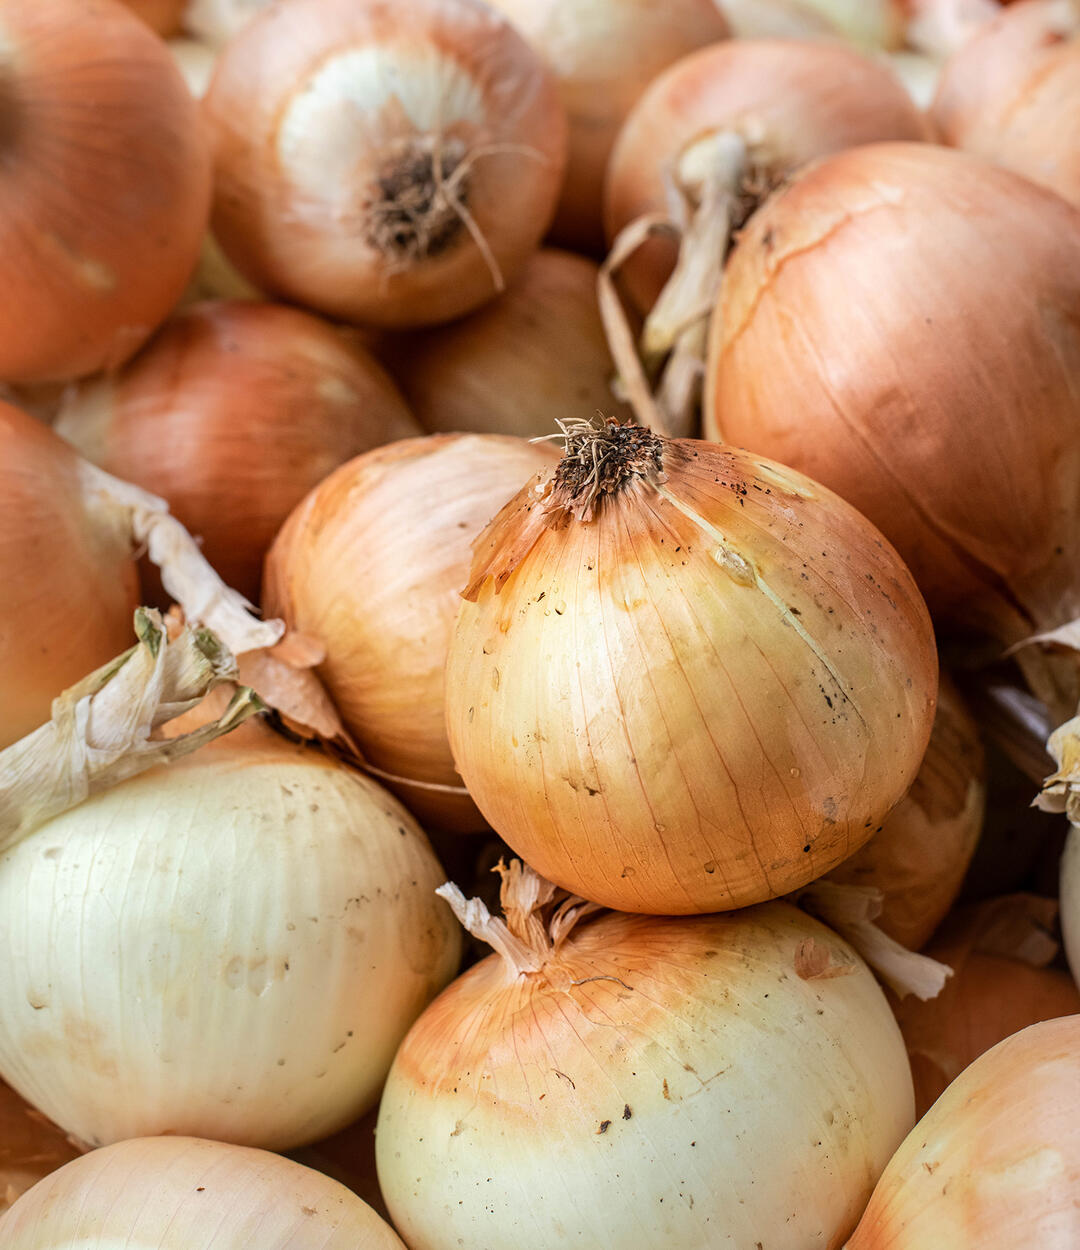
Onions at The Garden Of // Santa Monica Farmers Market
Recipe Tips
Chicken Feet (Optional)
I recently started adding chicken feet to my stock thanks to a recipe from Rachael Sheridan and her Virtual Cooking Club. I recognize feet may be off-putting, but consider that you're helping to use up all the chicken parts plus your stock will have added body, flavor, and nutrients to boot. I still use the leftovers from a roasted chicken and that is explained further down in the post.
Many butchers have chicken feet in the freezer and sell them by the pound. You can also ask your respective meat purveyor if they can get some for you. There are no shortages of chicken feet.
Multi-tasking Bird
I usually roast a chicken, remove the meat for other meals (leaving most of the skin on the bones), and then freeze the carcass to use in stock. The semi-defrosted bird can be dropped right into the pot - no fuss. You can also refrigerate the bones if you plan to make stock within a couple of days. Store-bought roasted chicken works just as well if that's what you prefer.
Skin in the Game
As mentioned above, I leave the roasted chicken's skin intact for the stock. Some folks feel that chicken skin adds too much fat to the broth leading to an unpleasant mouthfeel. I can see how raw chicken might do this, but with roasted chicken much of the fat has been rendered. Plus, the crispy skin adds to the overall depth of flavor.
Clouds in My Coffee...and Stock
The first stock I ever made had a gelatinous quality (which can be a good sign) but it had a slick mouthfeel and cloudy appearance. There are competing theories as to why chicken stock becomes cloudy. Some people suggest that the "green parts" of the vegetables are to blame, while others say that if you cook the vegetables too long they will "dissolve" into the stock, making it cloudy. But are dissolved vegetables really a bad thing? That's part of what makes braising liquid and Thanksgiving turkey drippings so fantastic.
After giving it some thought, my hunch was that if the stock boils (as mine did), the fat and water emulsify. I found several articles that confirmed my emulsification theory and since the Internet only speaks the truth I'm sticking with it. All of that being said, it's very important to not boil or even strongly simmer the stock.
Patience
To get clear-ish chicken stock (mine is translucent), I cover the pot, start my burner on medium-high, and then work the flame down to medium-low/low once a few bubbles appear. It takes a while for the gentle simmer to get going so I frequently check on the pot during the first hour. When I say gentle simmer, I mean you should only see a few "bloop...bloop" bubbles now and then. That's it. I'll occasionally check on things once the heat has been lowered but the bubbling seems to stay pretty consistent. I've found the temperature stabilizes around 180-190°F.
Useless Fact...I ended up asking The Google what sound a bubble makes and came across this professor's 5-minute video about bubbles. It doesn't answer the question (I ultimately went with "bloop"), but I learned that bubbles are being studied as a way to fight cancer. They're basically mini treatment transporters which is fascinating. Sometimes the detour is better than the intended destination.
Gel vs. Liquid
The conventional wisdom is that if you cook stock for a long enough period of time the resulting product will be gelatinous when refrigerated. This happens because the gelatin in the bones has been sufficiently broken down and extracted by the liquid. While many feel this is the holy grail of chicken stock mastery, it is definitely possible to make excellent stock that doesn't fully gel. Generally speaking, the lower, slower, and longer you go the more likely you'll have gelatinous stock if that's what you're going for. My stock will hold its shape in a spoon - I would call it medium firm.
Upcycle
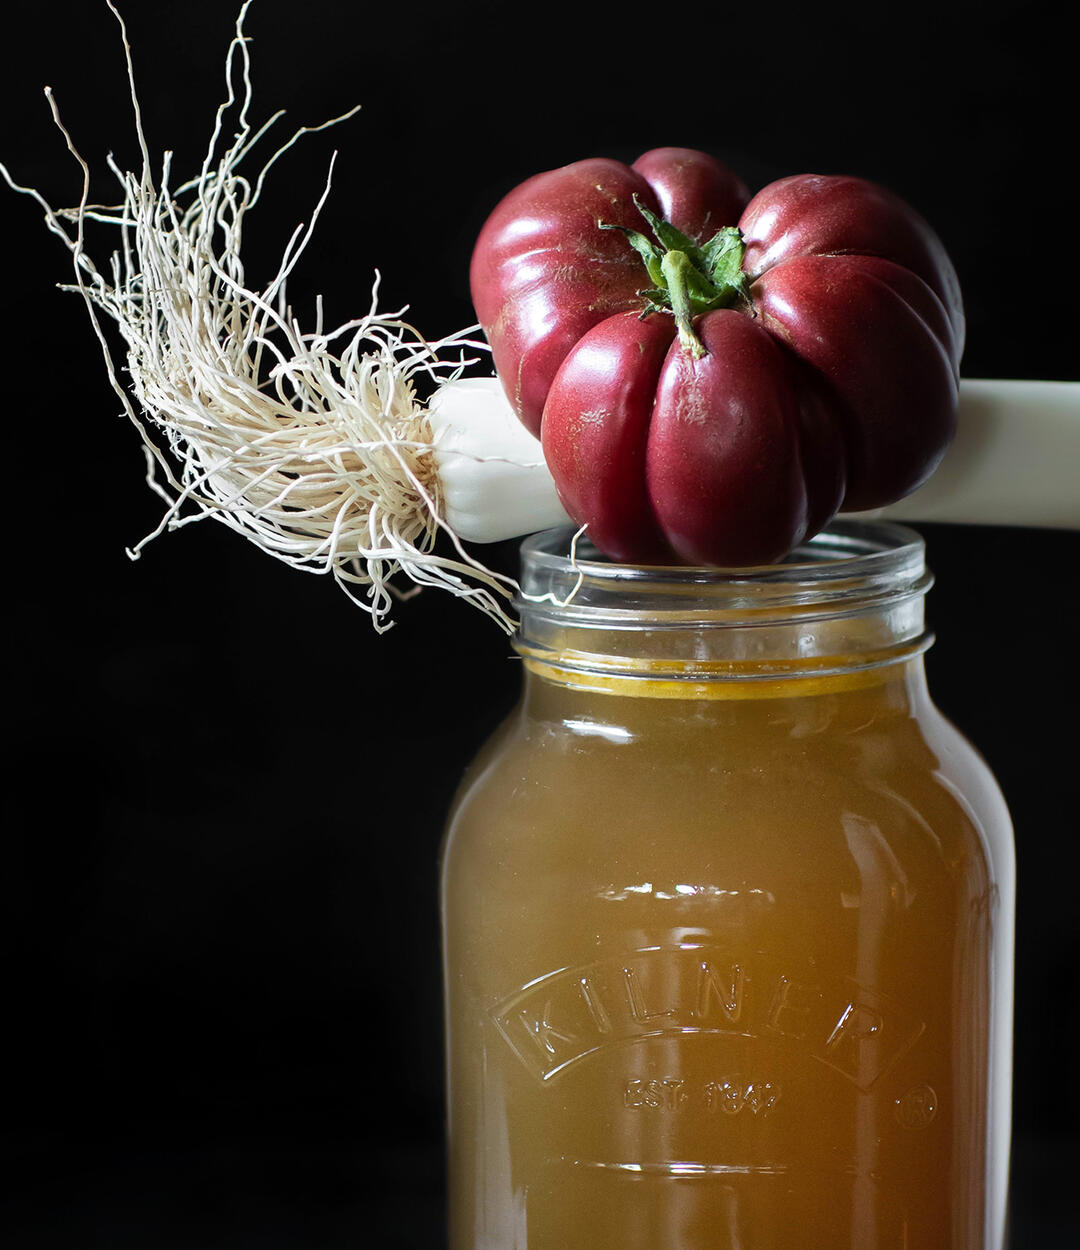
Tomatoes are part of the ingredient list. An alternative option is to upcycle the leftover tomato skins from Pomodoro Sauce. I often have skins in the freezer which makes it easy to toss a handful into the stock if tomatoes aren't in season.
Farmers | Artisans
I make an effort to source my food from California artisans with a special focus on the Santa Monica Farmers Market. Below is a list of the folks who contributed to this dish.
- A Cut Above Butcher / Chicken
- Finley Farms / Celery
- Tutti Frutti Farms / Leeks, Tomatoes
- Coleman Family Farms / Chives, Parsley, Thyme
- The Garden Of... / Carrots
- Milliken Family Farms / Garlic
- Schaner Family Farms / Onions, Garlic
- Trattore Farms / Olive Oil
- Golden State Papayas / Mushrooms

Leeks at Tutti Frutti Farms // Santa Monica Farmers Market
Tools
- Stock Pot (or here)
- 100% Natural Cheese Cloth
- Swivel Peeler
- Strainer
- BPA-free Storage Containers
- Parchment Paper
- Aluminum Foil
- Baking Sheet
My Favorite Cooking Tools spotlights the kitchen equipment I have owned and used for years.
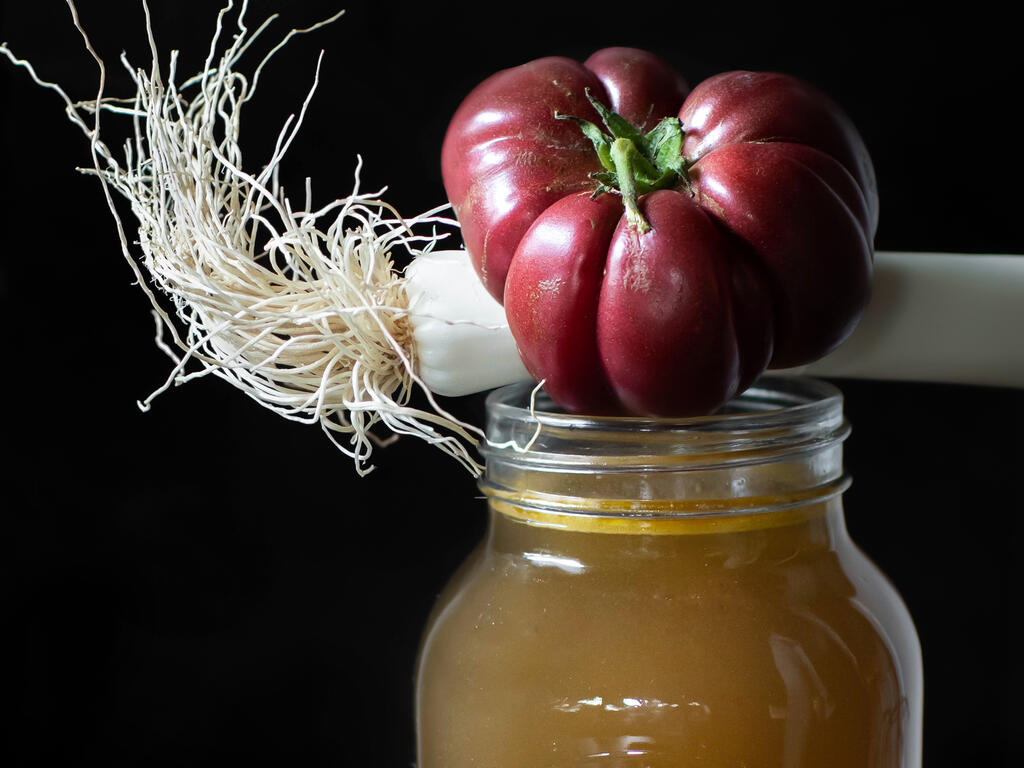
Ingredients for Chicken Stock (makes about 14 cups)
Roasting
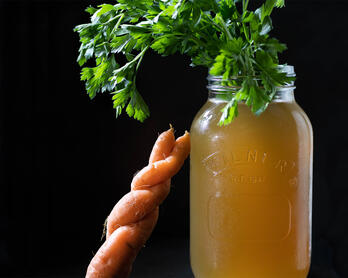
- 5 carrots, peeled, rough chop
- 2 small/medium or 1 large onion, rough chop
- 2 medium tomatoes, quartered
- 1 small head of garlic
- Extra-virgin olive oil
- Diamond kosher salt
Simmering
- Extra-virgin olive oil
- 1 roasted chicken (about 3 pounds before meat is removed for other meals) and 3 pounds of roasted chicken feet Note: 2 roasted chickens totaling around 6 pounds can be substituted and will make great stock. See "Recipe Tips".
- 7 smashed peppercorns
- 1 medium/large onion, rough chop
- White and light green part of 2 small/medium leeks, rough chop
- 2 celery stalks, rough chop
- 2 carrots, peeled, rough chop
- 5 ounces shiitake + 8 ounces white mushrooms, stems left on, quartered
- 8 sprigs of thyme
- 2 bay leaves
- 1/4 cup chopped chives
- 4 1/2-5 quarts (18-20 cups) of cold filtered water
- Diamond kosher salt
Instructions
Roasting
- Move an oven rack to the middle position and heat to 375°F.
- Line a baking sheet with aluminum foil and then place a piece of parchment paper on top of that. Note: The parchment paper prevents the roasted tomatoes from sticking.
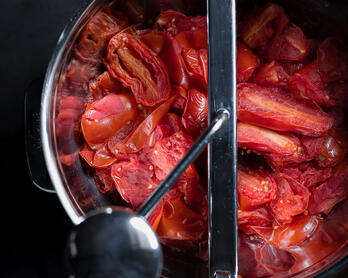
- Transfer your chopped roasting vegetables (carrots, onions, and tomatoes) to the baking sheet and arrange in a single layer. Drizzle with extra virgin olive oil, sprinkle with salt, then toss to combine.
- Slice about 1/4 inch off the end of your garlic (not the root end) so the cloves are exposed. Leave the skin on to hold the cloves together, rub the head of garlic with olive oil, then seal it up in aluminum foil. Place the bundled garlic on the baking sheet with the vegetables.
- Roast everything for 1 to 1 1/2 hours until the onions and carrots start to caramelize.
- Remove the veggies and set aside.
Simmering
- While the vegetables are roasting, add 2 tablespoons of olive oil to a large stock pot over medium heat.
- Add the onions, leeks, mushrooms, and carrots, sprinkle with salt, and then cook for about 5 minutes.
- Add the chives, celery, bay leaves, thyme, roasted veggies and all the roasting juices, chicken, and enough water to cover. This is usually 4 1/2-5 quarts for me.
- Partially cover and bring to a very slow simmer over medium-high heat. As soon as you start to see the "bloop...bloop", reduce to medium-low/low and leave partially covered. Note: As I've already mentioned a few times, don't let the mixture boil. It's worthwhile to check on the stock periodically. While making a batch of stock recently, I decided to measure the temperature a handful of times and found it stabilized around 180-190°F. See "Recipe Tips".
- Continue to cook partially covered for 6 hours. Note: If you've done things correctly, a spoonful of the liquid will be clear with some globules of fat floating about. I've not found it necessary to skim the stock during the cooking process when working with roasted chicken parts.
- Remove the large chicken pieces and discard. Set a fine mesh strainer over a large bowl and scoop some of the vegetables and stock into it, gently pressing the veggies to extract the liquid. Continue until the pot is empty.
- Let the stock cool.
- Strain the broth through cheesecloth and then refrigerate the cooled stock overnight so that the excess fat can solidify at the top. The next day, scrape the fat off and discard (there won't be very much). Refrigerate for a few days or freeze for future use. Also, I don't always run the stock through cheesecloth. It depends on what the broth will be used for and how many unwanted bits end up in the bowl after I strain it.
Newsletter
Subscribe at the bottom of this page for the Chic Eats roundup. It includes new and updated recipes along with a grab bag of unique content that was interesting enough to share around the dinner table.