Violet Bakery's Banana Bread

Bananas are back at the Santa Monica Farmers Market and I've already consumed my weight in Dwarf Brazilians and Rajapuris. Even when the Brazilians are extremely ripe, their intensely sweet flavor still maintains a backbone of acidity while the texture retains a structured creaminess. As a snack, on pancakes or oatmeal, or in baked goods, this fruit elevates the game of any dish. I feel a twinge of angst each week when I look for Vista Punta Gorda Ranch's stand since they disappeared last year without a trace. Never leave us again, Farmer Andy...or I'll come find you. Andy left again...and I have not found him.
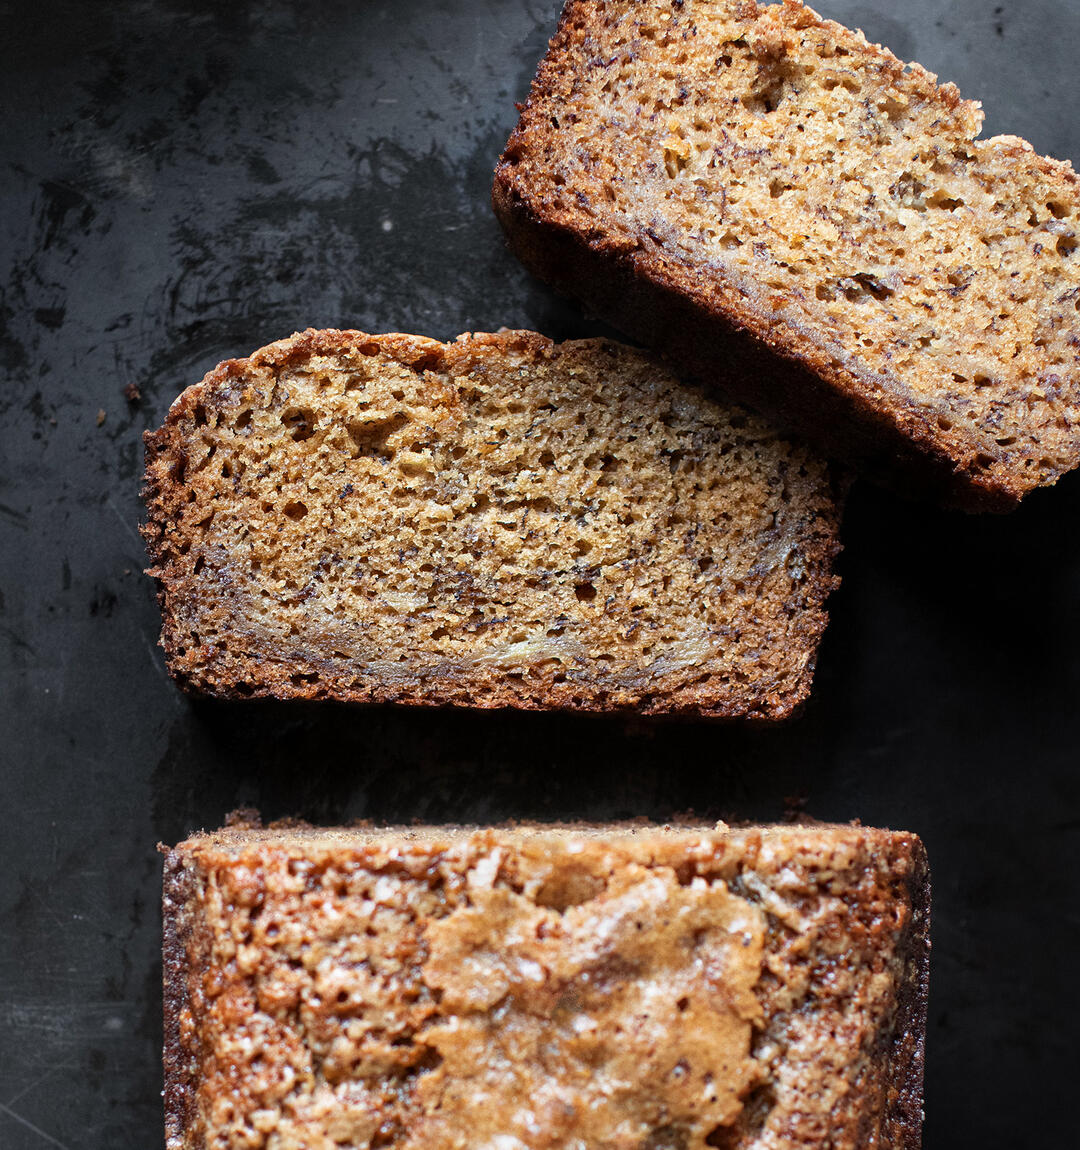
I happened to have some very ripe Dwarf Brazilian bananas on the counter and had to decide what recipe would do them justice. I pulled out a few of my go-to baking books, assessed the ingredients, and ultimately went with The Violet Bakery's Banana Bread. I've had success with Claire Ptak's recipes and the combination of buttermilk and dark rum sounded like an excellent match for my banana haul. Turns out that was a good assessment. This bread smells so caramely and intense when it comes out of the oven that it was hard to stop myself from eating it right away. It also has a perfectly tender texture as well as an excellent balance of supporting flavors that allow the fruit to shine.

Original vs. Adapted
Rum
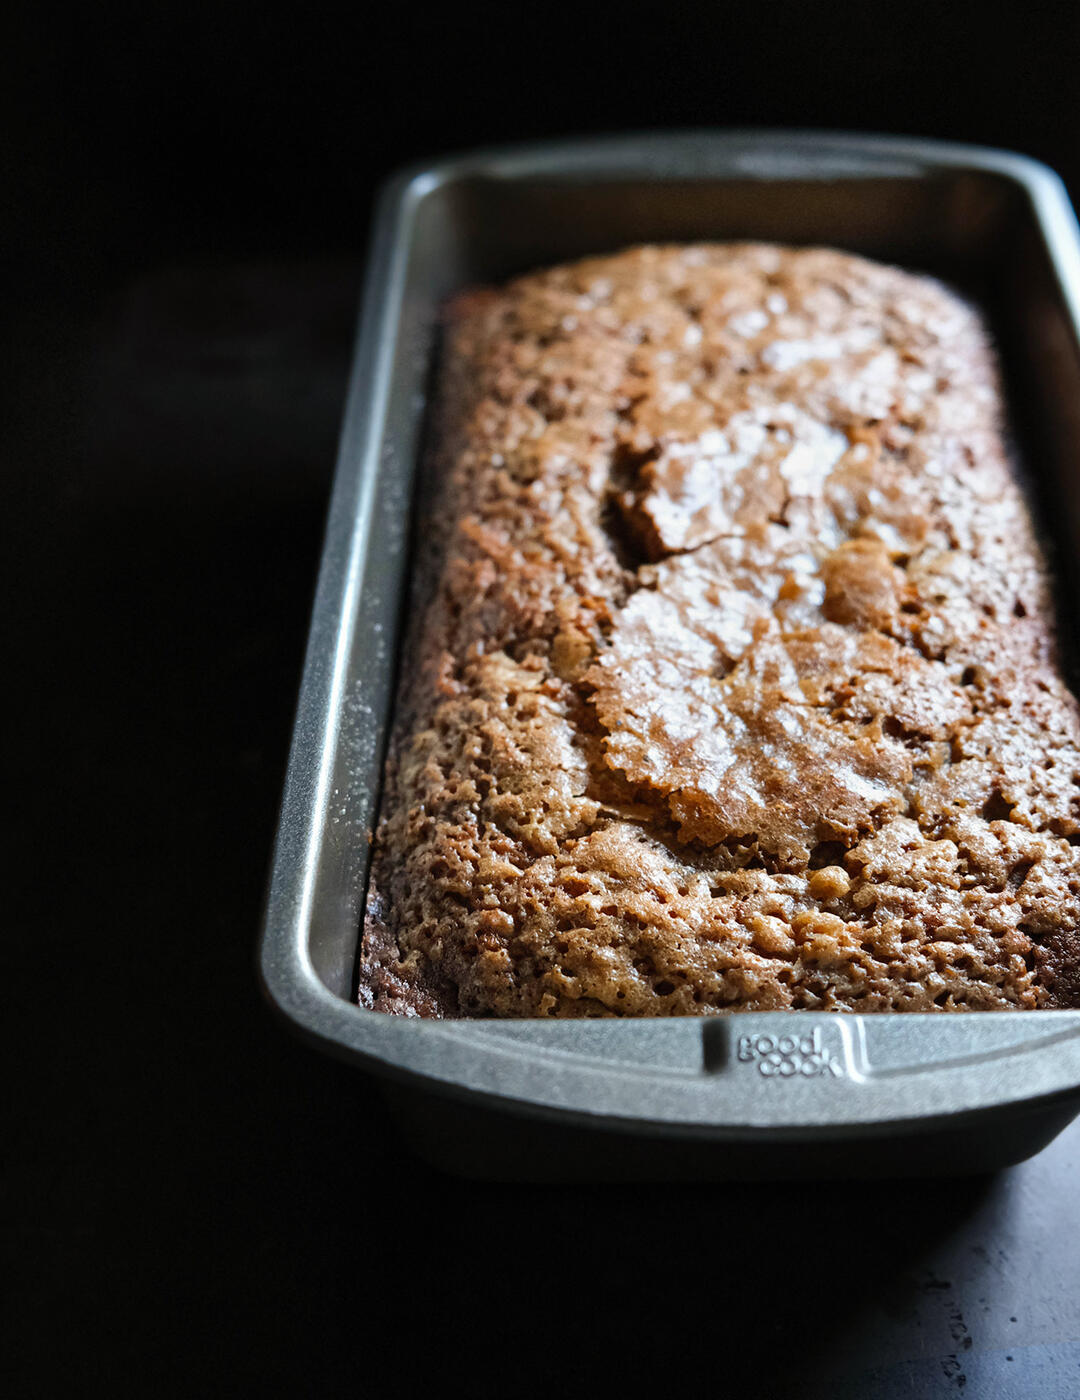
I didn't have dark rum I didn't see my dark rum and ended up using light rum instead (pictured). I made the banana bread a second time with the dark rum and, though it looks about the same, the smell seems especially fantastic. As I write this, the loaf is cooling on the rack and it's proving difficult to resist taking a slice.
Sugar
The cookbook's recipe calls for quite a bit of sugar and my bananas were already super sweet so I rolled back the sugar by about 20%. Very glad I did. Even when using Cavendish bananas from the supermarket, I still use the reduced amount of sugar with great results. No matter the variety, make sure the bananas are extremely ripe and mashable.
In terms of the topping, the recipe calls for sprinkling 3 tablespoons of granulated sugar across the top so that the sugar can caramelize while baking. Claire suggests that she sometimes uses a kitchen blowtorch to move the caramelization process along at the end. I don't care for the mouthfeel of loose sugar and don't have a blowtorch so I cut the 3 tablespoons down to 1 and found that it still made a nice crust. That being said, if I ever get a blowtorch I'll probably increase the sugar so that it can be caramelized.
Bananas
The Violet Bakery Cookbook recipe calls for 6 bananas but doesn't specify a weight. The bananas that I get from the farmers market are a bit shorter than most supermarket varieties but they also seem to be denser so I had to guess on this one. I upped the quantity from 6 to 7 which resulted in 12 ounces of flesh 11 ounces of flesh (updated). The moisture content of the bread was spot on with a wonderful banana flavor so I plan to stick with this amount in the future. The moral of this story is that I recommend relying on weight over quantity. I've included relevant notes in the instructions.
Pan Size
The recipe calls for a 10x4 pan but I only had 9x5 and it worked out fine.
Vegetable Oil
I've been using almond oil for quick breads in lieu of grapeseed oil and am happy with the results. I wrote a slightly longer bit that explains the context for my oil choice in How to Make Mayonnaise from Scratch. For the record, I'm not a nutritionist and I don't play one on the internet.
Recipe Tips
Ripeness
Though already mentioned above, it's worth repeating that the fruit must be very ripe and soft to achieve a strong banana flavor. Even if the bananas look a little questionable, give them a taste. The best bananas for this recipe are the ones that are intensely sweet but have a texture that isn't good for anything other than mashing.
Ingredient Temperature
Your buttermilk and eggs should be room temperature. Don't make fruit-laden bread work any harder than it needs to when it comes to cooking all the way through.
Internal Bread Temperature
Cake testers generally don't come out clean with particularly wet or fruit-heavy baked goods so I rely on temperature, sight, and smell as a gauge for when the bread is done. That being said, I'm no cake whisperer so temperature is really the most reliable approach. I baked this recipe several times and measured around 203-210 degrees on the outer edges and about 195-200 in the center. Tartine's Pumpkin Tea Cake comes out nicely with a center temperature of 195 so that was my guide. After baking the banana bread a few times, I now aim for the slightly higher center temperature of 200.
Overmixing
The more you mix the batter, the more you strengthen or develop the gluten structure which ultimately toughens the crumb. Fold the batter, pat down the lumps, fold again, poke around for flour pockets, then stop as soon as it comes together. I expand upon this in the instructions.
Farmers | Artisans
I make an effort to source my food from local California artisans with a special focus on the Santa Monica Farmers Market. Below is a list of the folks who contributed to this dish.
- Vista Punta Gorda Ranch / Dwarf Brazilian Bananas
- Central Milling / "Organic Beehive" All-Purpose Flour
- Schaner Family Farms / Eggs
Tools
- 9 x 5 loaf pan
- Scale / I've owned this scale for many years and would buy another one if it ever went to measuring tool heaven.
- Thermapen Digital Thermometer / Fast, accurate, nimble, and a snap to clean. I use mine daily so the investment was worth it.
- Whisk (or here)
Ingredients (Recipe adapted from The Violet Bakery Cookbook)
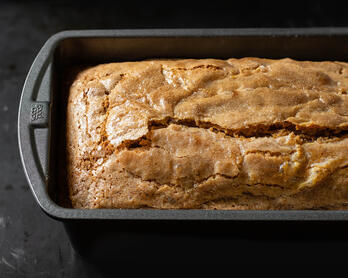
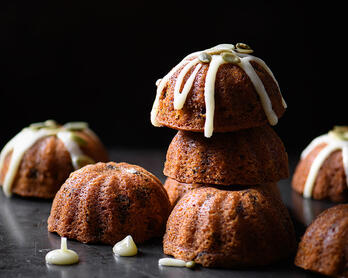
- 4 or 5 medium bananas (325 grams/11 ounces of flesh) + 1 optional very ripe small banana for the topping Update: I no longer add bananas to the top as can be seen in the bottom photo. The banana flavor is already intense and the added fruit topper seems to accelerate the breakdown of the texture.
- 150 grams (2/3 cup) almond or neutral vegetable oil
- 180 grams dark brown sugar Note: If you have it, substituting 30 grams of muscovado sugar adds additional depth.
- 1 teaspoon vanilla extract
- 1 teaspoon dark rum
- 2 eggs, room temperature
- 75 grams (1/3 cup) buttermilk, room temperature
- 105 grams whole grain spelt flour Update: I initially used 25% whole grain but have since increased the amount to 50% and really like the results. The bread works with 100% all-purpose if that's what you have though I highly recommend some spelt.
- 105 grams all-purpose flour
- 1 teaspoon baking powder
- 1 teaspoon baking soda
- 1/4 teaspoon + 1/8 teaspoon Diamond kosher salt
- 1 tablespoon sugar (for topping)
Instructions
- Lightly grease the bottom and sides of the baking pan with butter, then line the bottom with parchment paper that has been cut to fit. Set aside.
- Move the oven rack to the middle position and pre-heat to 355 degrees°F.
- In a medium/large bowl, whisk together the oil, brown sugar, vanilla, rum, and buttermilk. Once that's well mixed, add the eggs and whisk to incorporate.
- Thoroughly mash the bananas with a fork, then add to the oil mixture and stir to combine. Note: Make sure to set aside the 8th small banana (if using) - that's for the topping.
- In a separate bowl, whisk together the flour, baking soda, baking powder, and salt.
- Sift the flour mixture, then whisk again. Note: Some of the salt may catch in the mesh. Just dump it back into the pile before the second round of whisking.
- Add the dry ingredients to the banana mixture in three additions. When each addition is about 50-75% blended, add the next. Do not fully incorporate each addition or you may risk overmixing the batter. Stop mixing as soon as the dry bits are incorporated. See "Recipe Tips" above.
- Scrape the banana bread batter into the pan and smooth the top.
- Thinly slice the remaining small banana lengthwise and then place the pieces in a single layer on top. Note: Don't press the slices into the batter, they sink on their own. Update: Since posting this recipe, I have opted to leave the topper fruit off as per the middle and bottom photos.
- Sprinkle 1 tablespoon of granulated sugar evenly over the top. Note: I don't use the whole tablespoon when the bananas are particularly sweet.
- Bake for 40-60 minutes, rotating the pan 180 degrees at about the 25-minute mark. Bake until the top of the cake starts to develop a crust and the internal temperature is around 195 when measuring the center of the bread. See "Recipe Tips" above.
- Remove the pan from the oven, gently run a paring knife around the edge, then let the bread rest in the pan for 15 minutes.
- Invert the pan, peel away and discard the parchment paper, then cool on a wire rack.
Storage
Quick breads and muffins can sometimes develop a funky almost mushy texture during storage. As the baked goods stale, the moisture migrates out to the edge and causes it to become soggy. How fast this happens will depend on the humidity and temperature in your environment.
A few tips based on my own trial and error:
- Make sure the internal temperature is completely cool before storing the bread. You would be surprised how long it takes so measure the center.
- Freezing slices or sections of bread will offer the best results. When you want a few pieces for the day, set them out at room temperature to defrost then warm in a 350°F oven. The reheated version is almost identical to freshly baked.
- To store at room temperature, I have tried a few approaches and am not sure one is better than the other.
- 1) Wrap the bread in a paper towel then place in a Ziploc bag or airtight container.
- 2) Wrap the bread in plastic, then place in a Ziploc bag or airtight container with a couple of paper towels to absorb moisture.
- 2) Wrap the bread in a paper towel followed by plastic, then place in a Ziploc bag or airtight container.
Monthly Roundup
- Subscribe at the bottom of this page for the Chic Eats monthly roundup. It includes new and updated recipes along with a grab bag of content that was interesting enough to share around the dinner table.