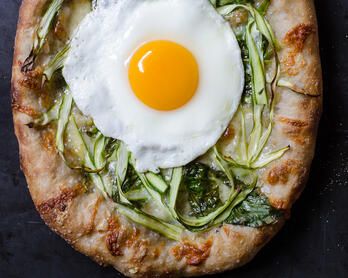
Nancy Silverton's Pizza Dough Recipe with Peperonata, Salumi, and Pepperoni
Last week was our 7-year wedding anniversary so I decided to make dinner for a relaxed date night. Rob had been saving a bottle of wine from the year we met and since pizza is our love language the menu was a no-brainer.
In terms of toppings, I already had a peperonata recipe but the last batch of pizza dough I tried was pale and, as they say in Kansas, flatter than a pancake. Since Nancy Silverton's Rosemary Olive Oil Cakes were a big success, I figured it was worth trying her dough from The Mozza Cookbook.
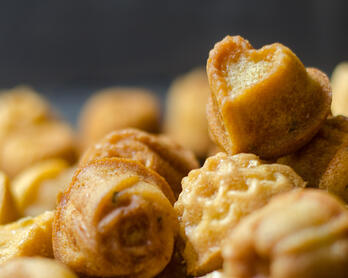
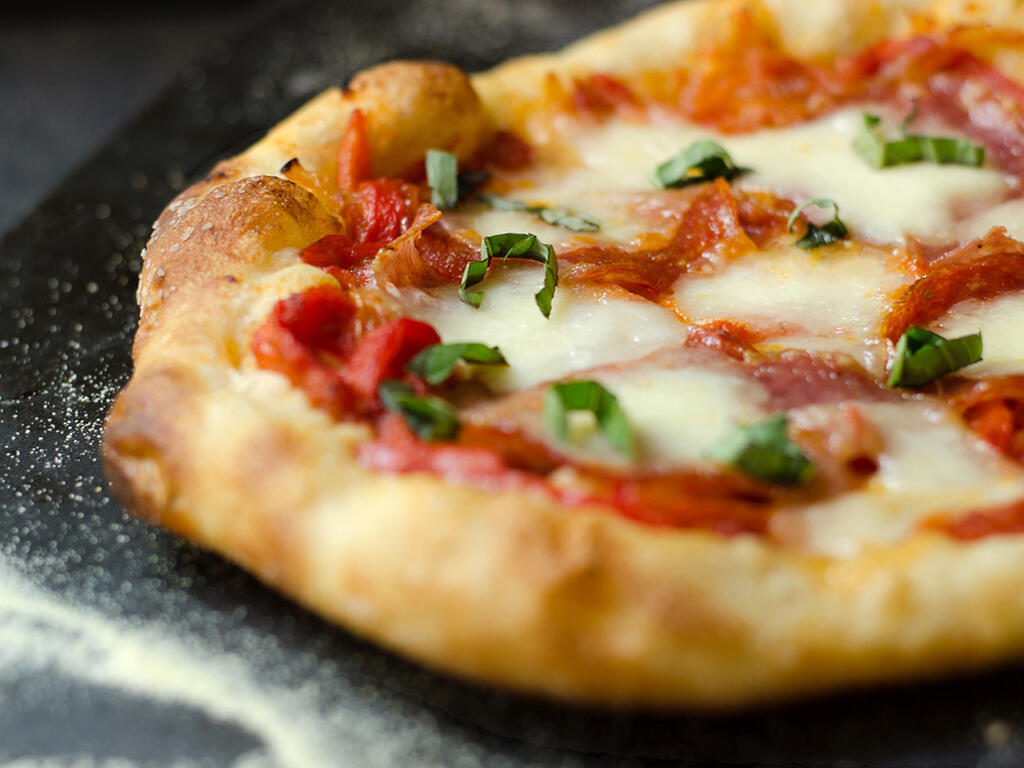
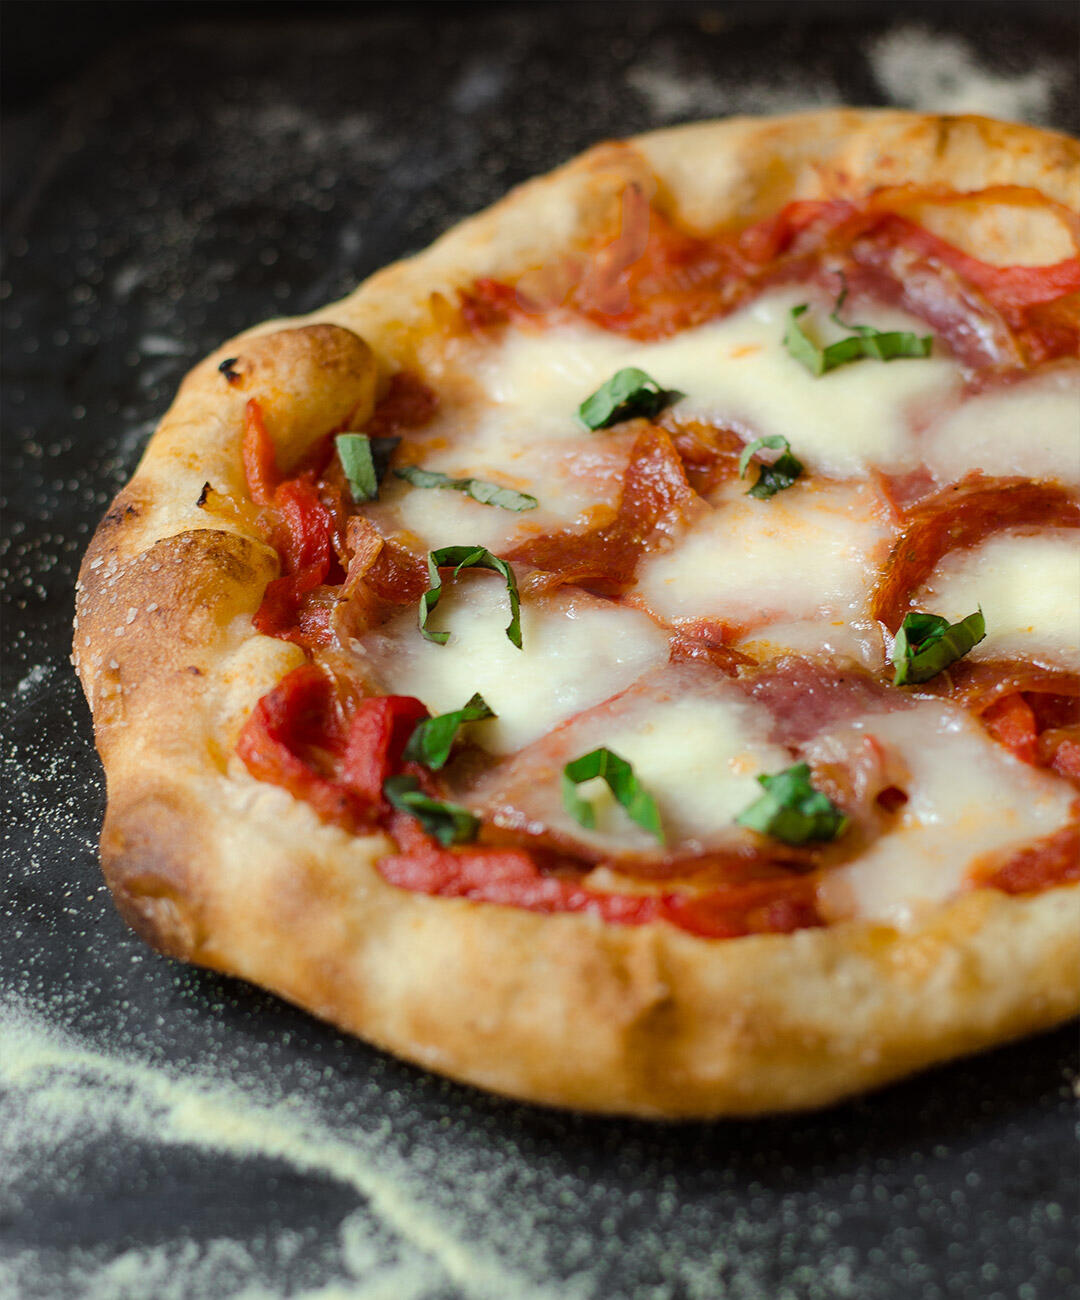
Results? Awesome. Beautiful air pockets throughout the outer rim (or cornicione) and the crust's exterior was crispy while the interior was stretchy and chewy. When I ran the pizza wheel through the crust it made the most satisfying "crunch" sound. This may be the birth of a pizza series on Chic Eats.
Similar to my Homemade Pasta, I've included detailed notes and tips in this post.
Recipe
Dry Run
I'm not gonna lie, Nancy's dough is very wet and sticky. This is a good thing for the final product but can make handling the dough a tricky affair. Since wasting peperonata and salumi is a criminal offense, I ran through the process of stretching and baking one pie skin before trying to assemble an entire pizza. I don't feel the need to do this next time but thought it was worth mentioning as a tip.
The Magic of Salt
Part of what makes this dough sing is the olive oil and salt that you add right before the toppings. Did I mention salt? I recommend easing into the sodium with the first couple of pizzas until you hit just the right balance for your palate.
Cold Fermentation vs Room Temperature Proofing
The Mozza Cookbook recipe calls for letting the dough proof three times at room temperature so that you can make pizza the same day that you make the dough. I decided to store my dough in the refrigerator overnight after the first rise in order to "cold ferment" for the 2nd proofing. I won't go into the weeds on this, but generally speaking cold fermentation allows time for deeper flavor development. I discovered a video online where Nancy discussed that they cold ferment at Pizzeria Mozza. Most pizza restaurants seem to let their dough proof for at least a day.
I left my dough in the refrigerator for 3 days and made pizza on days 2 and 3. In terms of timing, personally I found cold fermentation to be much easier from a planning perspective. All I had to do was pull the necessary dough out of the refrigerator an hour and a half before it was time to bake. That being said, I'm including the original day-of instructions at the bottom if you want to go that route.
Video Worth Watching
This video features Nancy Silverton making The Mozza Cookbook dough. You can see how quickly she works with the dough and how the guy she's with is having trouble with the sticky texture. The lighter your touch and more quickly you work the less your dough will stick to your hands.
Tools
- KitchenAid Professional Mixer or KitchenArtisan
- Pizza Peel or an upside-down baking sheet
- Pizza Wheel
- Pizza Stone (multiple sizes available with this brand) Update: I recently upgraded to a Baking Steel and have had excellent results.
- Silicone Pastry Brush or Regular Pastry Brush
- Parchment Paper

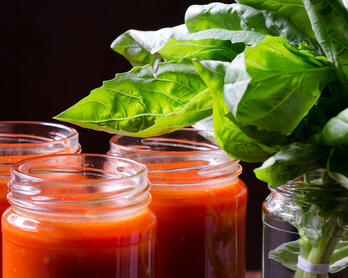
Sweet Peppers at Windrose Farms - Santa Monica Farmers Market
Farmers | Artisans
I make an effort to source my food from local California artisans with a special focus on the Santa Monica Farmers Market. Below is a list of the talented folks who contributed to this dish.
- Grist & Toll / Rye Flour
- Windrose Farms / Sweet Red Peppers
- Maggie's Farm / Basil
- Trattore Farms / Olive Oil
Ingredients (The dough recipe makes 6 small pizzas. Toppings are for a single pizza and should be scaled accordingly.)
Pizza Dough
- 22 ounces warm water
- 1/2 ounce (1 tablespoon) compressed yeast or 1 teaspoon active dry yeast Note: I used active dry yeast.
- 26 ounces unbleached bread flour, plus more for dusting
- 1/2 ounce (1 tablespoon) dark rye flour or medium rye flour Note: I used dark rye flour.
- 1 1/2 teaspoons wheat germ
- 1 1/2 teaspoons barley malt or mild-flavored honey Note: I used wildflower honey.
- 1/2 ounce (1 tablespoon) kosher salt, plus more for finishing
- Olive oil, grape seed oil, or another neutral-flavored oil for greasing the bowl
Toppings (for a single pizza)
- 1/2 cup Peperonata
- 4 slices pepperoni, thinly sliced Note: The pepperoni I buy is rather large so if your pepperoni is the "traditional" small size you will want to increase this amount.
- 4 slices salumi, thinly sliced
- Fresh mozzarella, sliced
- 3 basil leaves
Optional Toppings to Serve Alongside
- Fresh Parmigiano Reggiano
- Chili Oil
- Red Pepper Flakes
Instructions
First Rise
- Heat 15 ounces of water to 100-110 degrees, pour it into your mixer's bowl, then sprinkle the yeast over the top and let stand until dissolved (about 5 minutes).
- Put the mixing bowl on a scale and add the rye flour, wheat germ, and 13 ounces of bread flour.
- Stir to combine then cover the bowl tightly with plastic wrap and secure with kitchen twine. Note: After reading the kitchen twine part I thought, "Nah, I can skip that," and then realized I was wrong. The plastic wrap doesn't cling quite right to the mixing bowl so the twine step seemed necessary (at least it was for me).
- Let the mixture sit at room temperature (70-ish degrees is preferable) for about 1 1/2 hours.
- Remove the plastic and add the remaining 7 oz of room temperature water, 13 oz bread flour, and honey or malt barley.
- Using a dough hook attachment, mix on low for 2 minutes.
- Sprinkle the 1/2 ounce (1 tablespoon) kosher salt over the dough while the mixer is running, then increase the mixer speed to medium for 2 minutes.
- Scrape down the sides and the bottom of the bowl with a rubber spatula, then continue on medium for 6 additional minutes. Note: The dough will not clear the sides and bottom completely, but if it's clinging for dear life sprinkle some extra flour to help it pull away a bit (I had to add a few tablespoons). Some sticking is desirable and expected.
- Transfer the dough to a lightly oiled bowl (large enough for the mass to double) and cover tightly with plastic wrap, securing with twine if necessary.
Second Rise - Cold Fermentation
- Transfer the sealed bowl of dough to the refrigerator.
- After day 1, loosen the cling wrap slightly so the dough can breathe.
- Store the dough in the refrigerator for 1 to 3 days. Note: Some blogs say you can go longer than 3 days but I haven't tried that.
Baking Setup
- A few hours before baking, line a plate with paper towels, lay your fresh mozzarella slices on top, then cover with additional paper towels. Apply light pressure with your hand, then put the plated mozzarella back in the refrigerator.
- Line a baking sheet with aluminum foil and a sheet of parchment then sprinkle with bread flour.
- Set aside two bowls: One with about 1/2 cup of bread flour (for dusting) and the other with about 1/2 cup of semolina (for the pizza peel/baking sheet).
- Put a little flour on your scale (the dough will be gooey), flour your hands, and measure out the 7 oz balls. Put any remaining dough back in the refrigerator. Note: Wetting your hands with water works as well. Also, I use food shears to cut the dough so it doesn't tear.
Resting, Balling, and Pre-heating
- Flour your hands, dust the dough lightly, then tuck under all of the edges to form a ball.
- Set the dough ball on the heavily floured side of the parchment, seam down. Cover with a towel and let it rest for 5 minutes.
- While the dough rests, put your pizza stone on the lowest oven rack and pre-heat to 500 degrees (or as high as you can safely go). Note: Nancy suggests putting the stone on the floor of the oven but I went with the bottom rack. Also, it's important that your stone pre-heat for about an hour.
- Flour your hands, brush the excess off the bottom of the dough ball, then form the dough into a taut ball on the lightly floured side of the parchment. This dough is too wet to create a tremendous amount of surface tension so there's no need to overwork it in vain. My method below is basically the same as Nancy's in this video:
- Pretending as if the ball has four corners, stretch one corner outward (don't go so far that it tears), and then bring the end that you're holding back to the center of the ball like you're wrapping a package. Repeat this process with the other 3 corners, holding each end at the center. Do all four corners once more, working quickly and lightly flouring your hands as necessary.
- Flip the ball over so the seam is on the bottom, then move one hand around the ball and tuck the edges under while securing the ball with your other hand. If you work your way around the ball about two times you'll notice that the top is relatively taut. That's good enough.
- Move the dough to the heavily floured side of parchment, cover with a towel, and let it rest for about 50 minutes.
While the Dough Rests
- Take the peperonata and mozzarella out of the refrigerator.
- Set aside two bowls: One with 2 tablespoons of olive oil and the other with some flake-style salt for finishing.
- Grab your pastry brush.
- If using a pizza peel, sprinkle it generously with semolina flour. Note: I just flipped a large baking sheet over and used that. It worked fine but I plan to get a proper peel.
Stretch and Bake
At this point, the oven has had 50 minutes to an hour to heat and the dough is ready.
- Brush the excess flour off the bottom of your dough ball, move it to the lightly floured side of the parchment, and sprinkle the top with flour.
- Using the tips of your fingers, tap-tap-tap the dough to gently spread it out, leaving an inch around the edge untouched (that inch is very important). Note: Nancy compares this to playing the piano. Also, it's not necessary to smack or bang your dough. If you've done things correctly the stretching process should take about a minute once you get the hang of it.
- Using your fists (again, don't mess with the outside inch), gently rotate the dough and let gravity do the rest of the stretching until the size is about 9-10".
- Transfer the stretched dough directly from your fists to the baking sheet/pizza peel that's floured with semolina.
- Reshape the round as necessary, making sure to maintain a 1-inch border.
- Before adding toppings, shake your peel gently to ensure the dough slides freely, dusting with semolina as needed. Note: Don't be shy when it comes to adding semolina underneath the pie skin. You will cry tears of mozzarella if your pizza sticks while being transferred to the stone.
- Brush the dough with olive oil and sprinkle with salt.
- Add the pepperonata, pepperoni, salumi, then mozzarella.
- Gently shake the peel/baking sheet again to ensure free movement, lifting the edges and adding semolina as needed.
- Slide your pizza onto the stone and bake for 8-11 minutes until deep golden brown. Use a metal spatula to rotate the pizza about 3/4 of the way through your cooking time.
- While your pizza is baking, chiffonade the basil.
- When the pizza is finished baking, slide it back onto the peel/baking sheet and let it rest for a minute.
- Sprinkle the pizza with basil, slice, and serve!
Room Temperature Proofing (to make pizza the day you make the dough)
- If you want to skip the overnight cold-fermentation, substitute the following for the "Second Rise - Cold Fermentation" instructions.
- After kneading in the mixer, transfer the dough to a lightly oiled bowl that's big enough for the dough to double.
- Wrap the bowl tightly with plastic, secure with twine, and then rest for 45 minutes.
- Proceed with the rest of the instructions.
Wine
A. Rafanelli Terrance Select
Cabernet Sauvignon, Dry Creek Valley, 2002
If you happen to be in Sonoma, I highly recommend making an appointment to taste at A. Rafanelli. It's a family run winery so they don't have a large tasting room or staff, hence the need for appointments. Rafanelli is usually pouring Cabernet, Merlot, and Zinfandel.