How to Peel, Roast, and Candy Hazelnuts
I tried to make candied hazelnuts a couple of years ago and it didn't go very well. The skins wouldn't come off and the finished product had a sandpaper texture and cloudy color. That hot mess was enough to make me abandon candy recipes altogether.
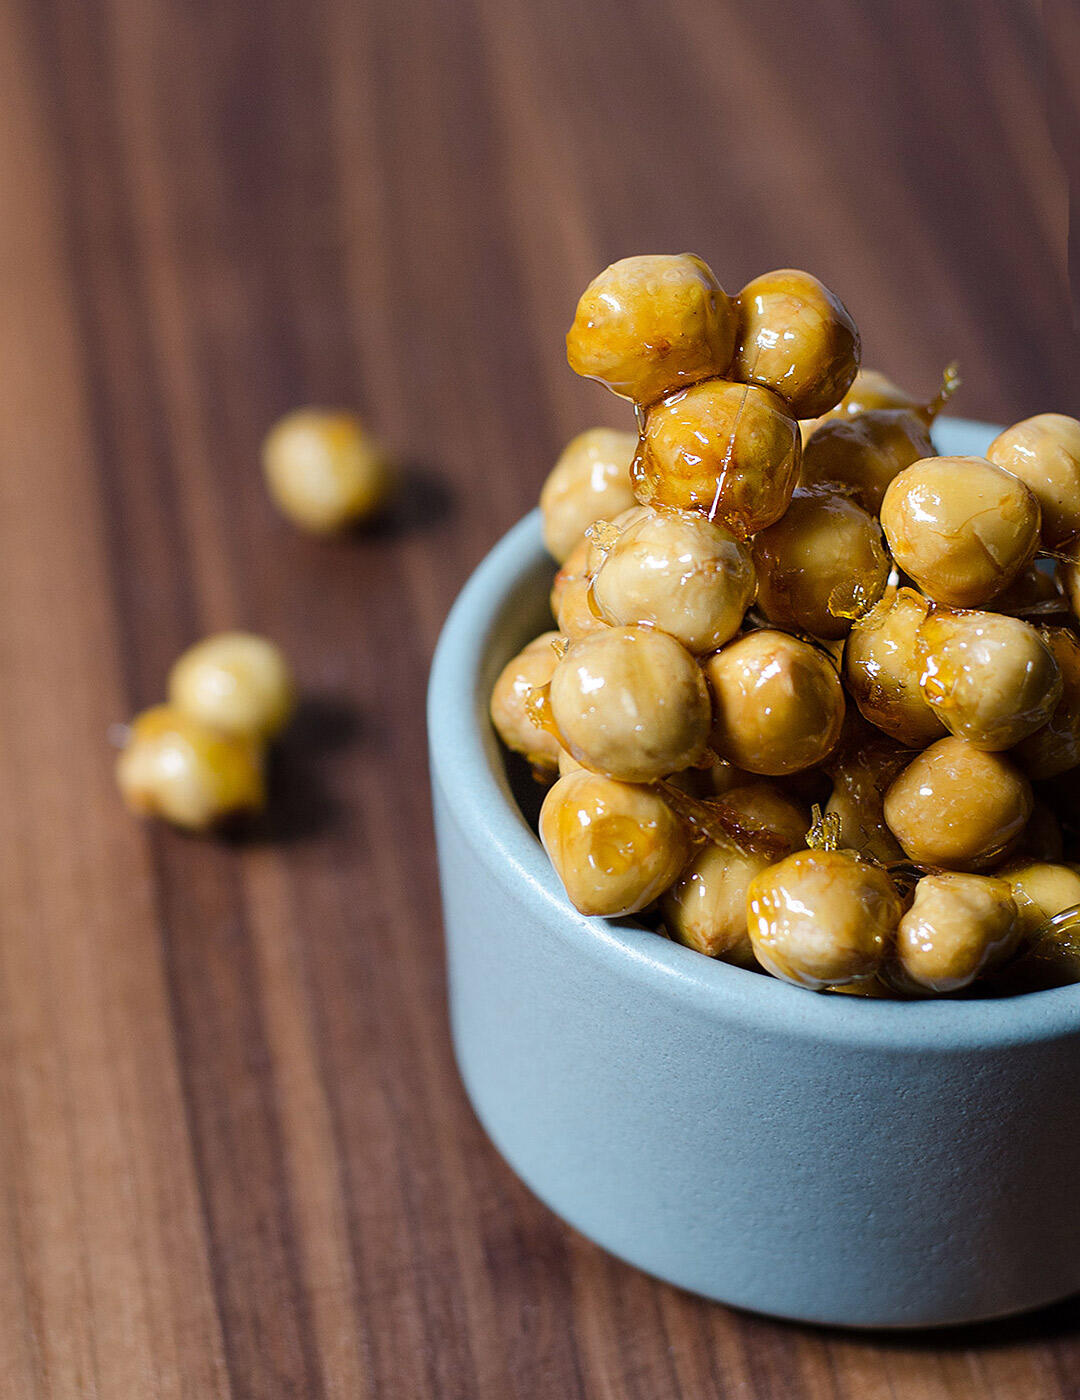
While the nuts were a sad affair, the ice cream dessert that they went with was delicious (post for the latter coming soon). Over the weekend, I decided to ask The Google for advice so I could give the candy process another go. I'm happy to say that this attempt was a big success thanks to some help from Julia. These candied hazelnuts are perfectly caramelized, crunchy, and glossy. I took notes as I went through the process and have included all of that info below.
Useless Facts
- Hazelnuts are also known as filberts. Filbert is a much cuter word since it sounds like the name of a dopey yet lovable cartoon character.
- The feast of St. Philbert falls on August 20th which also happens to be peak harvest season for hazelnuts. Legend has it that this is how people came to call the nuts "filberts".
- Filberts are old school. A Chinese manuscript dating back to 2838 B.C. lists the hazelnut as one of five sacred nourishments God bestowed on humans. Additionally, burnt hazelnuts were found at a 9000 year old Scottish archeological site. That's straight mesolithic. I hope to be an old-school nut some day.
- Oregon is the largest filbert producer in the U.S. while Turkey's crop is the largest globally.
Tools
- Slotted Spoon (or here)
- Heat-resistant Spoon (or here)
- Medium Saucepan (or here)
- Baking Sheet (or here)
- BPA-free Storage Containers (or here)
- Aluminum Foil
- Parchment Paper
Ingredients
Peeling
- 1 cup hazelnuts
- 4 cups water
- 4 tbsp baking soda
- Bowl of ice water
Candy
- 3/4 cup sugar
- 1/4 cup water
Finishing
Maldon sea salt
Recipe Tips
Burns
Please be careful with both the baking soda water and hot, hot melted sugar. It's important that you have everything set up in advance since there isn't time to run around finding tools once the ball is in motion.
Peeling
When working with baking soda and boiling water, if you can't get a handle on the foam just turn the heat down a little and stir frequently. You definitely don't want the baking soda mixture bubbling over.
Julia Child Forever
Here is the video that I watched before peeling my hazelnuts. The episode features Alice Medrich discussing her biscotti recipe and the relevant information is in the first two minutes.
Instructions
Peeling
- Bring 4 cups of water to a boil in a medium saucepan.
- Measure out the baking soda, measure out the nuts, and set a slotted spoon next to the pot.
- Add the baking soda to the boiling water and then immediately add the nuts. The water will foam up but you can control that by stirring and lowering the flame.
- Boil for 4 minutes and stir frequently. Note: Don't walk away from the pot or it will boil over.
- To test the nuts, run one under cold water. If the skin slips off easily you're good to go.
- Immediately transfer the nuts to the ice water using your slotted spoon.
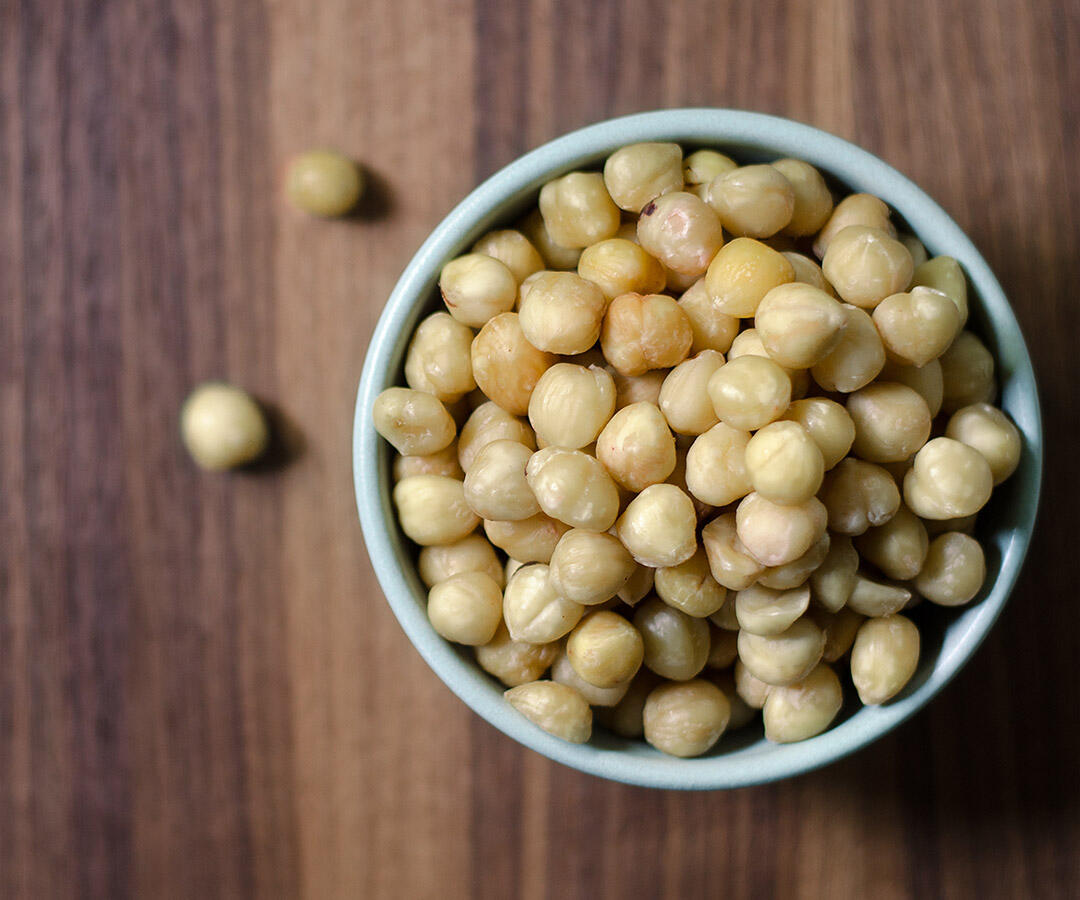
- Once cool enough to handle, pick up 5 to 10 nuts at a time and rub then between your hands under running water. The skins should come right off. Note: Online I've seen people mention using a kitchen towel or paper towels to remove the skins. My hands seemed like the easiest tool with the least cleanup so that was my method of choice.
- Spread the nuts out on some paper towels so they can dry.
Toasting
- Move your oven rack to the middle position and preheat to 350.
- Line a baking sheet with parchment, spread the nuts out in an even layer, and then bake for 10-12 minutes or until fragrant.
- Set the toasted nuts aside.
- If you want to make this recipe in phases, this is the point at which you can stop. Store the nuts in an airtight container at room temperature for a couple of days or freeze.
Candy
- Lower the oven temperature to 300.
- Line a baking sheet with foil and then a sheet of parchment paper.
- Place two forks (for separating the nuts) and your sea salt next to the baking sheet.
- Place a heat-resistant spoon next to the stove.
- In a medium saucepan, bring 3/4 sugar and 1/4 water to a boil over high heat
- Let the mixture boil undisturbed until it starts to turn amber around the edge (about 4 minutes).
- Turn the heat down to medium-high and continue simmering until all of the mixture is amber (about 2 more minutes). Note: As the the color starts to darken around the edges use your heat-resistant spoon to give it one stir. This helps even out the caramelization. It also helps to rotate your pan if there are hot spots.
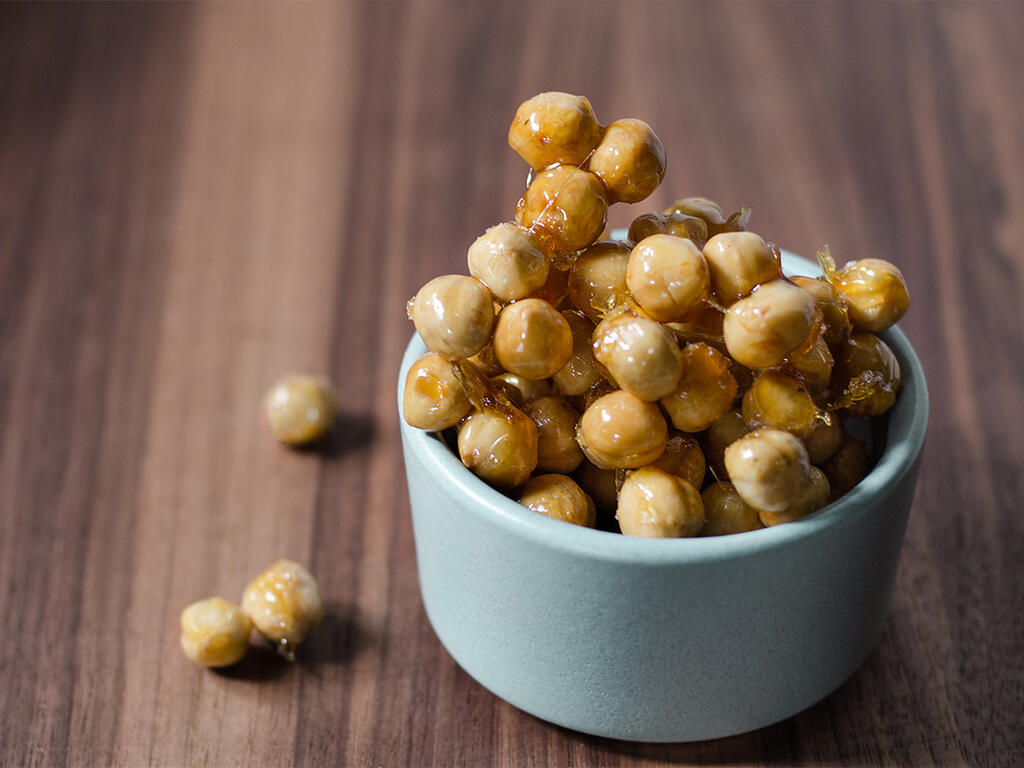
- Add the nuts, turn the heat back up to high, and stir constantly until the candy is a deep amber (about 2 minutes). Note: The mixture goes from deep amber to burnt in a flash so keep an eye on that. I could have let the hazelnuts in these photos go a little longer.
- Immediately transfer the (scary hot) nuts to the baking sheet, sprinkle with sea salt, and quickly separate the nuts away from the pool of amber goo.
- If the mixture hardens, put the tray in to the oven and reheat for about 2-3 minutes or until you can work with the nuts again. I had to do this twice.
Cleaning Trick
The sticky goo on your tools and in the pot will be like cement. To clean, fill the pot with water and add your utensils. Bring everything to a simmer and the hardened sugar will dissolve completely.
Storage
I keep my candied hazelnuts in the freezer. You can also put the nuts in an airtight container and leave them at room temperature for a couple of days. The Interwebs says to avoid storing the nuts in the refrigerator.