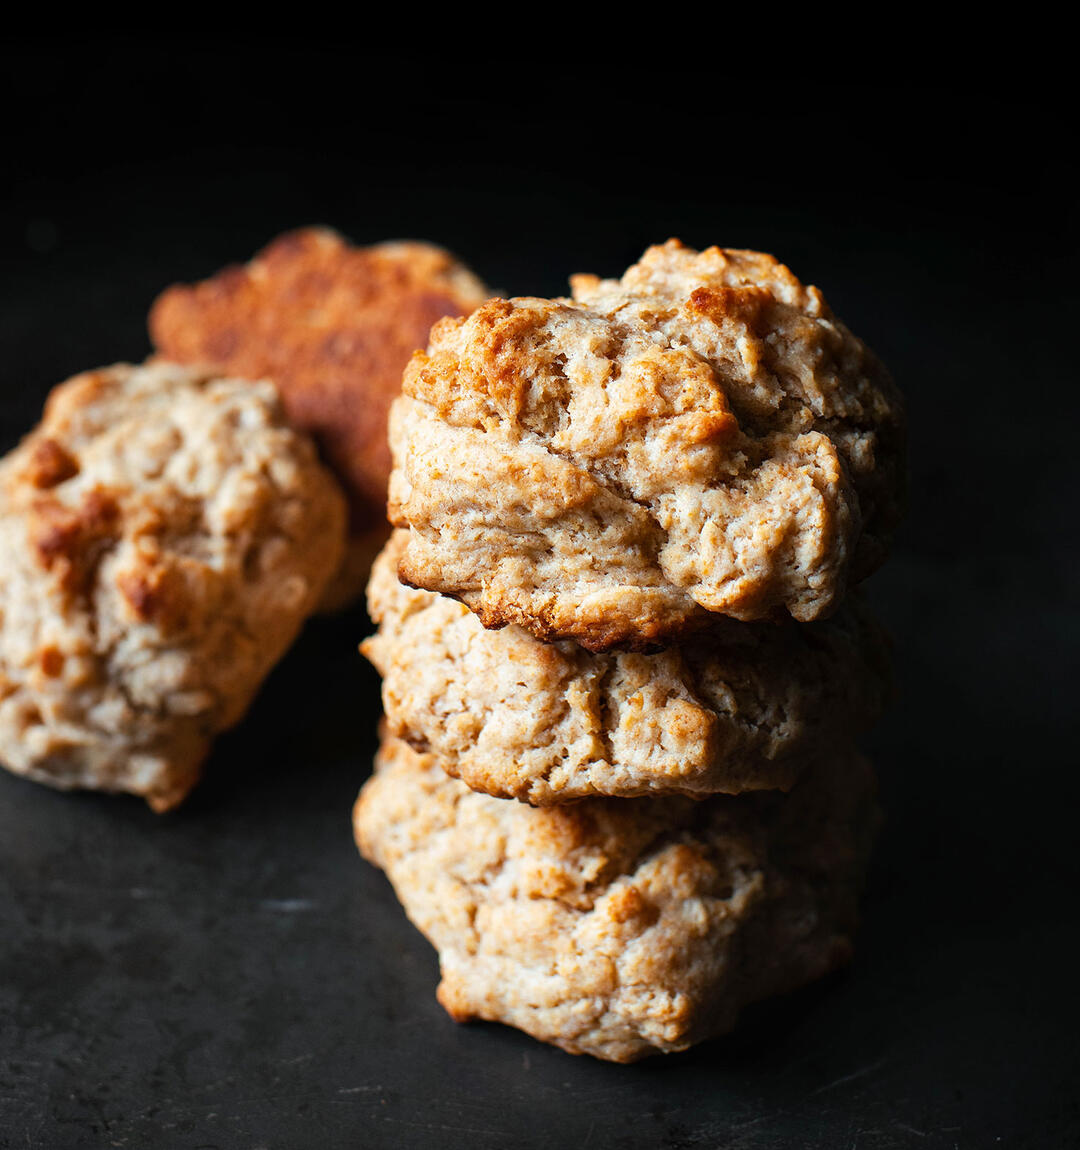
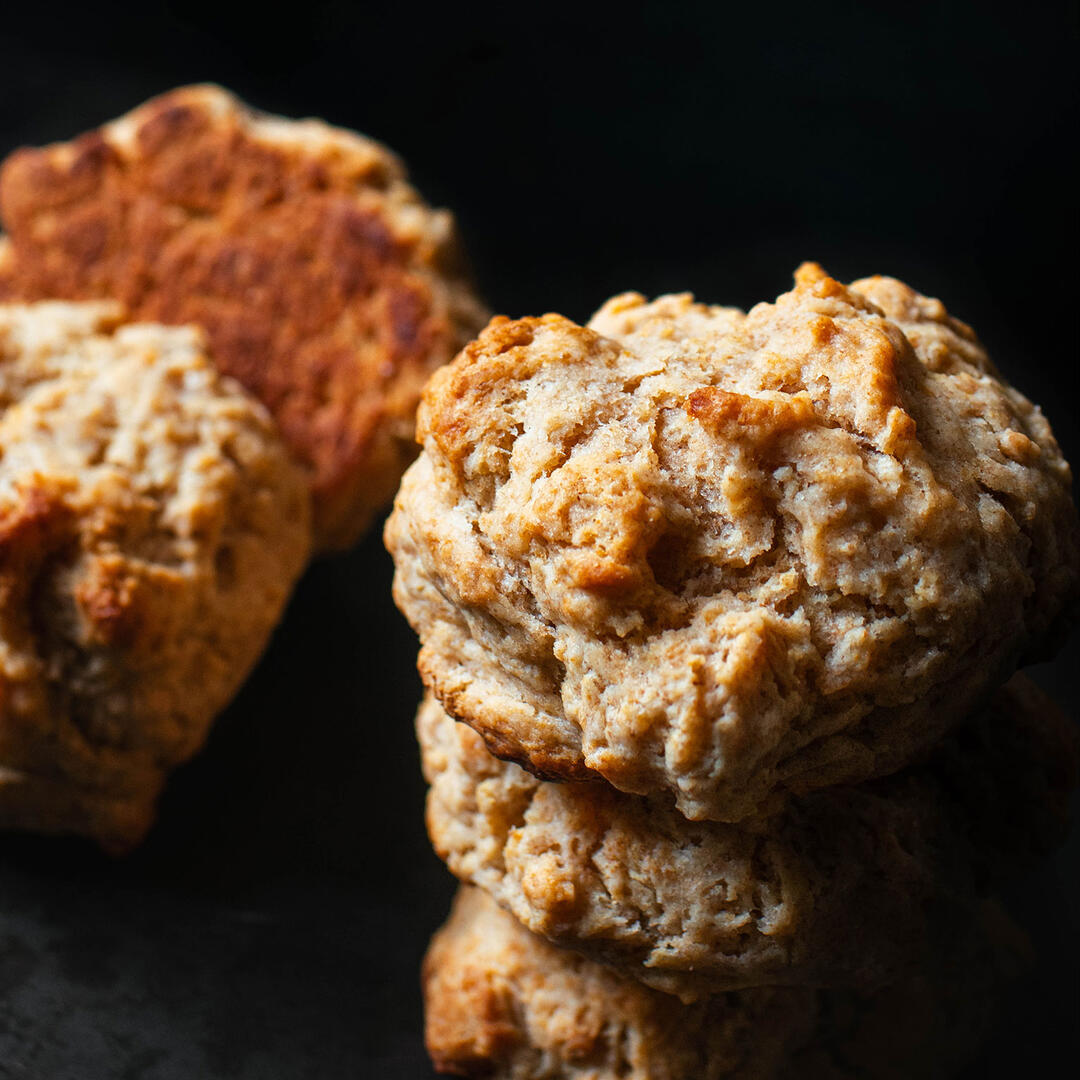
Last Minute Sourdough Biscuits
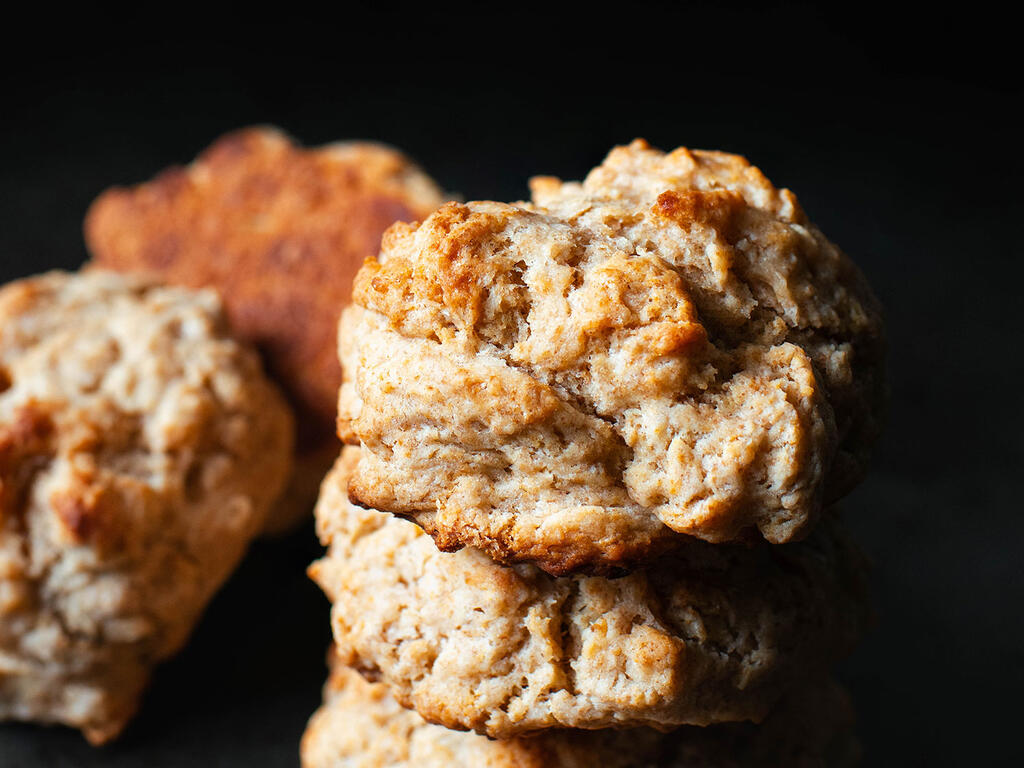
I call these "Last Minute" Sourdough Biscuits because they come together faster than the oven heats. This neat and tidy process came in handy one New Year's Day when I liked the sound of butter and carbs but didn't want a multi-step undertaking. The Google presented me with Cook's Illustrated's 2007 recipe for Quick Drop Biscuits and I was sold.
What grabbed my attention with this recipe was the combination of warm melted butter and cold buttermilk. The contrasting temperatures cause the butter to clump giving the biscuit's texture a boost. The end result is a rugged exterior with a light scone-like interior. They're the perfect delivery vehicle for all the Katz Farm preserves you can pile on. I've adapted the formula over the years to include 35% whole grains and sourdough starter discard - expanded notes below.
A bonus for bread bakers is that you can slip in a batch of these little nuggets while the oven is heating. When making a Sourdough Country Loaf, I place my empty Lodge double cooker on a lower rack and then bake the biscuits on the middle rack. Carbs on carbs on carbs.
Get Your Grain On
Substituting Whole Grain Flour for All-Purpose
These days, if a recipe is all white flour I almost always start with a substitution of 10-20% whole grain. I don't do it for the nutrition (though that's nice) as much as the nutty earthy dimensions. Whole grains add a wonderful depth and fill the flavor gaps that are inevitable with white flour.
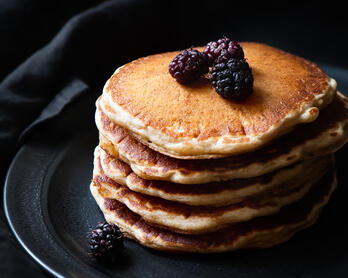
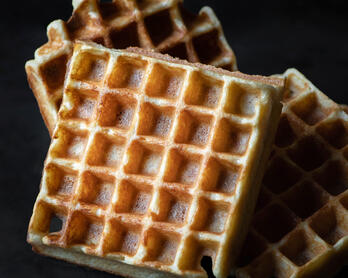
If you're making cookies, quickbreads, pancakes, or similar, don't be shy about substituting whole grains for a portion of the white flour in a 1:1 ratio. You can usually substitute up to 20% without making any changes to the process. Beyond a 20% substitution, ratio tweaks are sometimes necessary.
Types of Whole Grain Flour
With these sourdough drop biscuits, I've used whole grain Spelt, Red Fife, Chiddam Blanc de Mars, Sonora, and other varieties I've since forgotten. The Red Fife was probably a little thirstier than this recipe wanted (dough ended up being a smidge dry) but the biscuits were still delicious.
What is Sourdough Starter Discard?
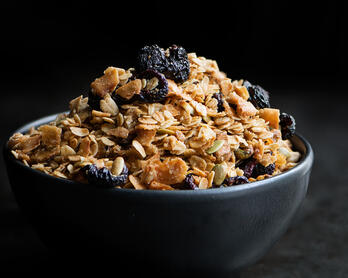
Maintaining a sourdough starter requires routine feedings - once or twice a day is typical. With each feeding, a portion of the starter is thrown away or discarded. Rather than throwing the starter away, you can use it to add flavor and texture to various baked goods such as these biscuits. I refresh my starter at lunch and before bed so there's always some hanging around in the morning.
Recipe Tips
I mention this in the instructions but it's worth repeating. After a few folds with a spatula, I find my hands are the best tools for finishing the biscuit dough. I can gently pull the mass apart and turn it over without overmixing or compressing the texture. The lighter your hand the lighter your rugged nugget.
Farmers | Artisans
I make an effort to source my food from California artisans with a special focus on the Santa Monica Farmers Market. Below is a list of the folks who contributed to this dish.
- Central Milling / Organic Beehive All-purpose Flour
- Grist & Toll / Whole Grain Sonora, Chiddam Blanc de Mars, and Spelt Flour
Tools
- Bowls (Small and Large) - I've had the same set of nested glass bowls since college. The linked items aren't the same but a bowl is a bowl for these purposes.
- OXO Scale - There are two scales in my kitchen. The workhorse is an OXO model that I purchased over 10 years ago and only recently had to replace. RIP scale #1. It's a sturdy cooking companion that repeatedly gets covered in flour, sauce, or whatever else is flying around the kitchen. I recommend keeping liquids away from the screen since they can find their way inside. That being said, the scale seems to dry out and keep on measuring.
- Mk4 Thermapen Digital Thermometer - I have three Thermapen digital thermometers that are distributed between my home, the Airstream, and my mother-in-law's house. They're fast, easy to clean, and the probe makes a perfect cake tester.
- Chicago Baking Pan - I have always used a dark pan and find that everything I roast, toast, and bake comes out with just the right color and char. Biscuits, cookies, vegetables, and this Sicilian pizza all have the perfect golden hue. If you're in the market I recommend buying a dark pan based on experience and the handful of articles I've read on the subject. The linked Chicago brand is what has been in my kitchen for years.
- Cooling Rack - Though I have both wire and mesh cooling racks, I'm partial to the wired since there are less nooks and crannies to clean.
- Silicone Pastry Brush - I own both the small and large. Though dishwasher safe, I find the silicone absorbs off flavors/smells when run through the dishwasher.
Ingredients (Adapted from Cook's Illustrated - Makes 12)
- 290 grams (10 1/4 ounces) buttermilk Note: I use Kalona buttermilk when I can find it - their sour cream is great, too.
- 2 ounces (60 grams) 85% hydration sourdough starter discard Note: As mentioned earlier in the post, I usually feed my starter at lunch and then before bed so it's not overly ripe when I go to use it in the morning.
- 100 grams (3 1/2 ounces) whole grain flour such as Spelt, Sonora, or Chiddam Blanc de Mars
- 190 grams (6 3/4 ounces) Central Milling Beehive or unbleached all-purpose flour
- 2 teaspoons baking powder
- 1 teaspoon baking soda
- 1 1/2 teaspoons organic cane sugar Note: I'm not sure if using "regular" granulated sugar will make this recipe noticeably sweeter since I haven't tested that. Also, I don't recommend raw or Demerara sugar for this recipe.
- 1 teaspoon + 1/8 teaspoon Diamond kosher salt
- 8 tablespoons (115 grams/4 ounces) unsalted butter
- 1-2 tablespoons melted salted butter for brushing the tops
Instructions
- Move an oven rack to the middle position and heat to 475°F. Note: If you're also making bread and using a double cooker, just slide the pans onto the lowest rack so they heat while the biscuits bake.
- Combine the buttermilk and sourdough starter in a small bowl. Stir and mash the mixture until the starter is dissolved (you may need to get after it a little). Don't worry if the starter doesn't completely dissolve since you'll have time to finish mixing later in the process. Put this bowl back in the refrigerator.
- Place a large bowl on your scale and a mesh strainer/sifter on the bowl. Zero out the scale and weigh your flour directly in the mesh strainer. Remove the bowl setup from the scale and add the baking soda, baking powder, sugar, and salt. Whisk the mixture to combine then continue sifting everything into the bowl. Dump any stray salt or bran flakes into the bowl and whisk again to recombine.
- Line a baking sheet with foil and then place a piece of parchment paper on top.
- When the oven is just about ready, melt the butter (I use the microwave) and set it aside to cool. The butter is usually 120°F or thereabouts and you're aiming for it to cool to approximately 100°F, about 5 minutes. It's worth giving the butter a stir from time to time since it tends to cool unevenly.
- While the butter is cooling, remove the buttermilk from the refrigerator and mix a few times to dissolve any remaining sourdough starter bits.
- When the butter has cooled to about 100°F, add it to the buttermilk bowl and stir gently until the butter forms small clumps. Once the clumps start forming, stop stirring. Note: The butter pieces can reunite into one glob if you stir too much.
- Make a well in the flour and add the buttermilk mixture. Using a spatula, work around the edge and gently fold the mixture, poking around to see where there may be pockets flour or moisture. Minimal mixing is key - the dough should look and feel airy. As mentioned under recipe tips, I find my hands are the best tools for finishing the dough.
- Butter or spray a 1/4 measuring cup and scoop up some dough. With each biscuit, turn the measuring cup over and lightly whack it against the palm of your other hand so the dough pops out. Repeat 12 times.
- Place each piece of dough on the baking sheet and then use the tips of your fingers to lightly plump it up. The top should remain untouched and craggy and the height will be about 1 3/4 inches. Remember those unwinnable games at arcades where you have to guide the claw to pick up the toy? For whatever reason the plumping step reminds me of that.
- Bake for 6 minutes then turn the pan 180°. The tips of the craggy top will show some color. Continue to bake until the tops are golden and the bottom is deep golden - 6 to 9 additional minutes.
- While the biscuits finish, melt the salted butter and grab a pastry brush.
- Promptly brush the finished biscuits while they're hot on the pan and then transfer them to a wire rack to cool. Serve slightly warm or room temperature.
Storage & Reheating
Day Of
- If the biscuits are completely cool and have been sitting for a long while, it's worth warming them up in a 350°F oven.
Freezing and Reheating
- These biscuits don't keep all that long at room temperature but they freeze beautifully.
- To reheat, set the oven to 350°F and line a baking sheet with foil then parchment. Place the frozen biscuits on the pan then place another piece of foil over top. Create a packet by partially crimping the top and bottom foil together (leave some gaps along the edge). The packet serves to keep the biscuits from drying out. Once the biscuits are warm to the touch but not heated through (7 to 10 minutes), remove/discard the top foil and measure the internal temperature. Continue to bake until hot inside - I pull the pan out when the center of the biscuits are 115-125°F. They are as good as freshly baked.
Monthly Roundup
- Subscribe at the bottom of this page for the Chic Eats monthly roundup. It includes new and updated recipes along with a grab bag of content that was interesting enough to share around the dinner table.