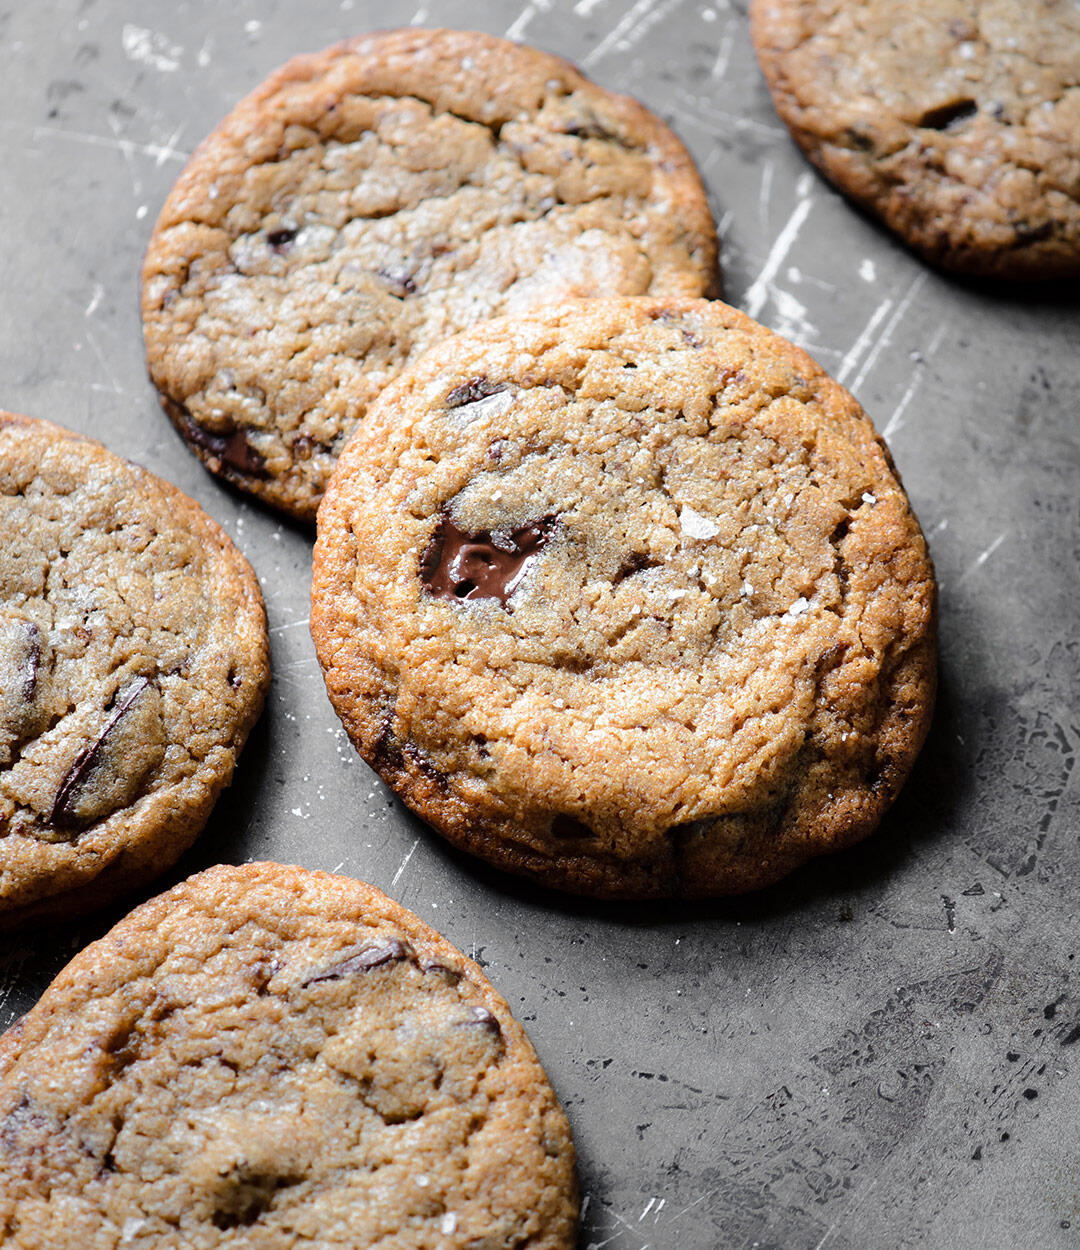
Sycamore Kitchen's Chocolate Chip Rye Cookies
One of the first thoughts that popped into my head the other morning was, “What can I bake with rye flour and chocolate?” I frequently lay in bed and ponder my pantry’s potential in the way that many people think about what they’re going to wear. How can I mix and match ingredients to make the most of what I have?
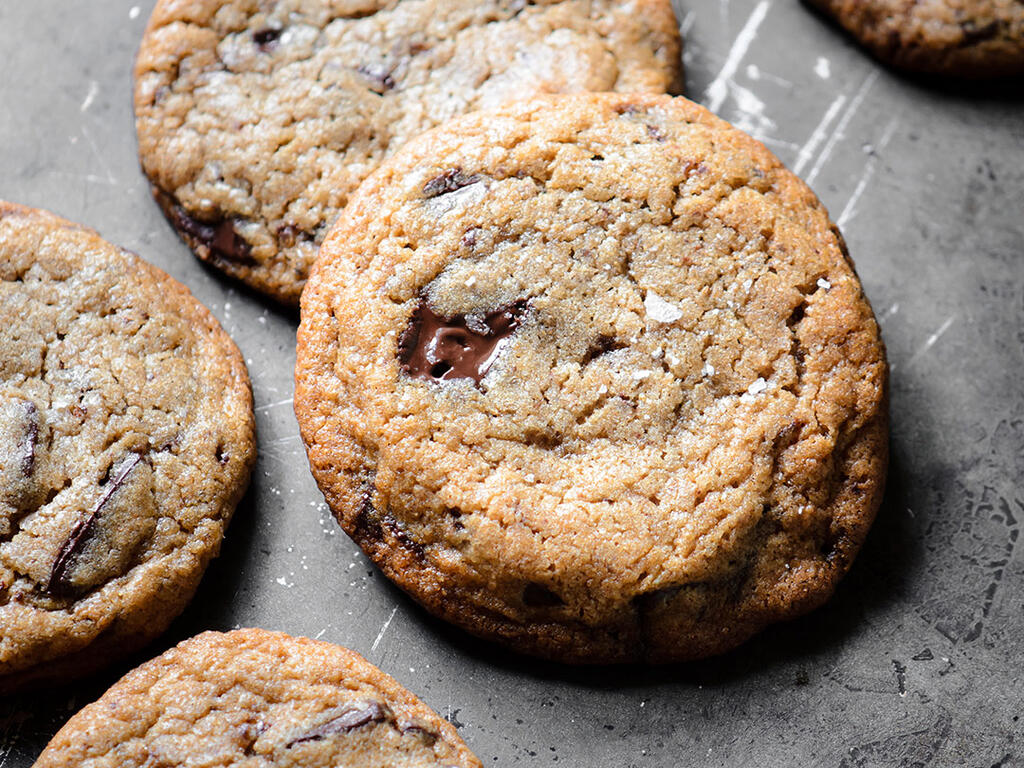
I asked The Google for some recommendations and the third recipe that came up was Sycamore Kitchen’s Rye Chocolate Chip Cookies. It turns out this cookie is on a number of “Best in Los Angeles” lists so I gave it a try. The verdict? You can occasionally believe what you read on the Interwebs because these are some of the best chocolate chip cookies I have baked. Lightly crisped around the edge, fantastic flavor, and just generally excellent.

In order to show Chef Karen Hatfield’s recipe some respect, I milled a batch of Tehachapi Heritage Grain Project’s Abruzzi rye and then ground the caraway seeds fresh. Not a required step. After some measurement conversions (grams are a baker's best friend), I made the cookies to spec. The rye flour is earthy, the caraway adds depth without being a diva, and a light dusting of crumbled Maldon sea salt pops the chocolate. Balanced and entirely delicious, this cookie is worth the stomach ache you'll get after eating multiple melty treats off the cooling rack.
I've included a number of notes on refrigeration, visual baking cues, and quantities. As mentioned above, I converted "cups" where possible since the Sycamore Kitchen recipe is very specific (1 1/16 cups, for example) but doesn't list ounces or grams which are more accurate. Not all measuring cups are created equal in addition to the fact that the scoop/sweep method can be off by significant amounts. From Tartine's Pumpkin Tea Cake to Flaky All-Butter Pie Crust, I like metrics and methods that help me nail down a repeatable process.

Original vs. Adapted
Other than converting some of the measurements, I didn't change a gram thing.
Recipe Tips
Refrigeration
You can bake these cookies after chilling the dough for a couple of hours and they will be very good. If you exercise patience and chill the dough for 24-48 hours, the flavor, color, and texture will be fantastic. After 72 hours, the dough is slightly degraded so ideally you want to bake 24-48 hours after mixing. There are several articles that discuss the science behind chilling cookie dough so I'll offer up a summary.
Hydration and caramelization are interconnected and the additional chilling time allows the ingredients to properly meld and develop. The well-hydrated flour results in a more cohesive flavor and evenly baked cookie. To quote the food journalist Kathleen Purvis,
"The difference starts with the liquid in the egg, which hydrates the starch in flour. Giving the flour more time to absorb that liquid makes the dough firmer, but it also lets enzymes in the flour and the egg yolk break down carbohydrates into the simple sugars fructose and glucose. Separately, they taste sweeter and they caramelize faster when baked."
As Serious Eats correctly suggests, if there's one thing you can do to improve the flavor of your cookies, it's refrigeration.
Oven Rack Position
I was listening to America's Test Kitchen Radio on a run recently when the discussion turned to baking rack positions. (Side note: Christopher Kimball left Cook's Illustrated and the podcast was canceled so now I'm binging on old episodes in the event that CI pulls them.) The lower-middle rack is considered best for cookies and cakes unless you have a convection oven in which air is more effectively circulated. The lower rack is best for fruit pies that need a quick crisp on the bottom crust. I usually bake my cookies on the middle rack and decided to give the lower-middle slot a try. It turns out this seemingly small change makes a big difference for both my cookies and naturally-leavened bread.
Farmers | Artisans
I make an effort to source my food from local California artisans with a special focus on the Santa Monica Farmers Market. Below is a list of the talented folks who contributed to this dish.
- Tehachapi Grain Project / Abruzzi Rye
- Omma's Garden / Eggs
Ingredients
- 12 tablespoons (6 ounces) unsalted butter, softened but still cool
- 3/4 cup packed (150 grams or 5 1/4 ounces) dark brown sugar
- 1/2 cup (100 grams or 3 1/2 ounces) granulated sugar
- 1 1/16 cups (115 grams or 4 ounces) rye flour
- 1 1/8 cups (135 grams or 4 3/4 ounces) all-purpose flour Note: I use unbleached Gold Medal.
- 3/4 teaspoon baking powder
- 1/2 + 1/8 teaspoon baking soda
- 3/8 teaspoon whole caraway seed, ground Note: The instructions aren’t clear in terms of whether it’s supposed to be 3/8 teaspoon of whole caraway seeds that are then ground, or 3/8 teaspoon pre-ground caraway seeds. I opted to grind my own since that tastes better. If you’re grinding the caraway seeds, just measure a scant 1 teaspoon, grind, and then measure 3/8 of the ground spice. You can also just use 3/8 teaspoon pre-ground caraway. Chef's discretion.
- 3/4 teaspoon flake-style salt
- 1 egg, room temperature
- 2 teaspoons vanilla extract (or 1 teaspoon double-strength)
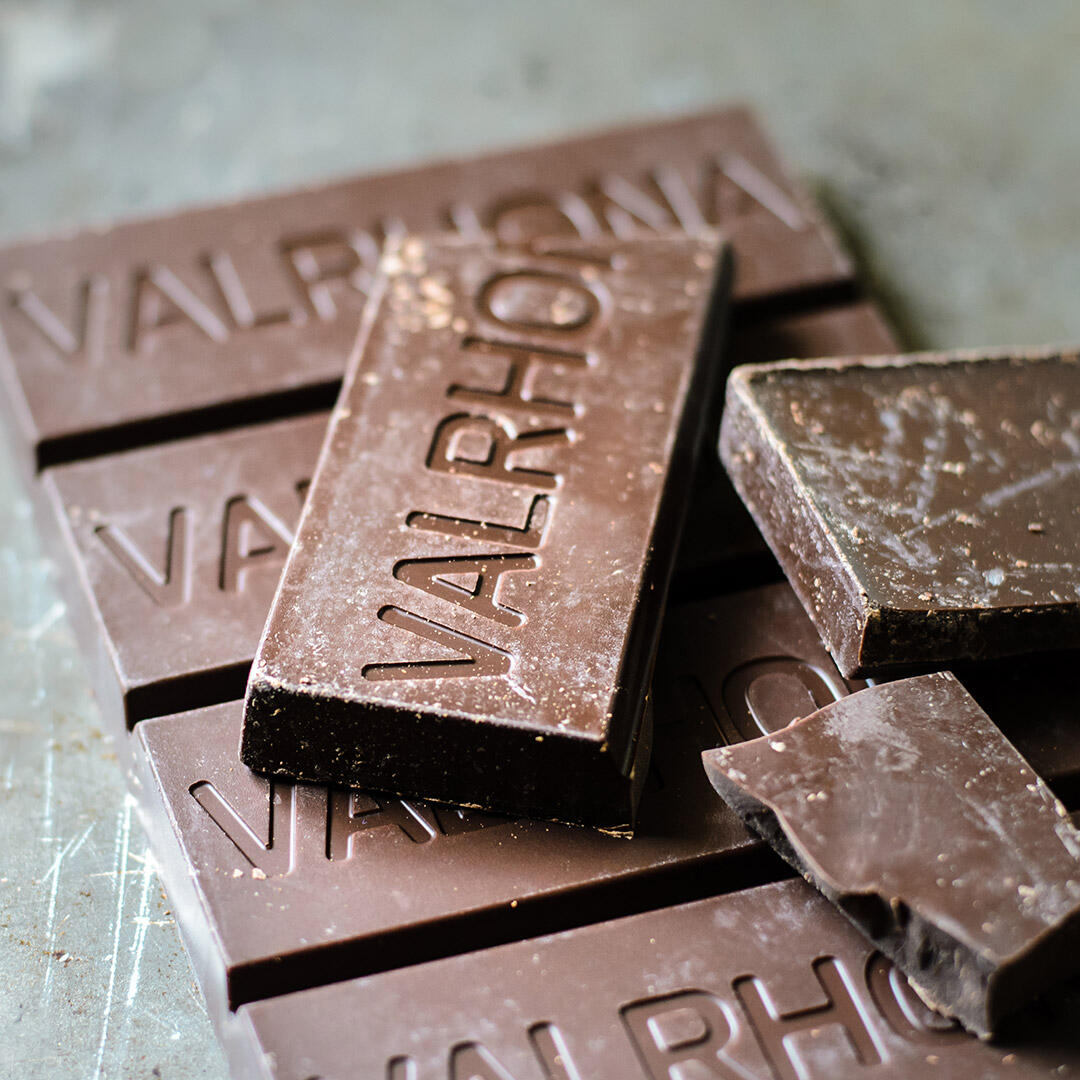
- 6 ounces 70% chocolate, chopped into roughly 1/4-inch chunks
Instructions
Dough
- Whisk together the flour, baking powder, baking soda, ground caraway seed, and salt, then set aside.
- Add the sugar and softened (but still cool) butter to the mixer bowl. With the paddle attachment, beat on medium for 3-5 minutes until fluffy, scraping down the sides and bottom one time about halfway through.
- Lower the mixer speed, add the egg and vanilla, then beat for 30 seconds. Scrape the sides and bottom, then continue until incorporated (about 30-60 more seconds).
- Continuing on low speed, add the flour in three additions. When each addition is about 75% incorporated, add the next. You don't want to overdevelop/overmix the dough.
- When the last bit of flour has been added, add the chocolate, let the paddle turn a couple of times, then turn the machine off. Use a rubber spatula to finish mixing by hand, flipping the dough over to ensure all dry bits are incorporated.
- Refrigerate dough in an airtight container overnight or up to 48 hours. Note: You can bake the cookies after chilling them for a couple of hours, but...see "Recipe Tips" above.
Bake
- Line a baking sheet with parchment paper.
- Scoop 1 1/2 ounce pieces of dough and place them on the baking sheet. Don't shape or roll them yet.
- Move your oven rack to the lower-middle position and preheat to 350.
- After 15-30 minutes (depending on ambient temperature) the dough should shape easily but will still be cool. Gently roll the dough in your hands to form a ball.
- Bake for 15 minutes, rotating the pan from front to back about halfway through. Visual cues include:
- When you rotate the pan, the edges will have spread slightly but the center will still be a lump.
- Around 13 minutes, the cookie will take a proper shape.
- Around 14 1/2-15 minutes, the center will be puffed and appear to be undercooked and the edges will be set and caramel colored. That's your cue to take the cookies out. Don't let them bake until the puffed center "looks cooked".
- Remove the tray from the oven and let the cookies sit on the hot pan until the puffy center deflates (4-5 minutes). While the cookies are still very hot, crush some Maldon sea salt between your fingers and dust the cookies. Note: Some people add the salt before baking the cookies so chef's discretion on that one.
- After 3-5 minutes, transfer the cookies to a wire rack to cool.